Developers using the Calling SDK can now enable inbound calling within HubSpot. When a user receives and answers a call through your app in HubSpot, they can access call records directly in HubSpot, eliminating the need to switch back to the calling app. Calls are automatically logged in the Call Index Page where users can take real-time notes and review the call after it ends.Documentation Index
Fetch the complete documentation index at: https://developers.hubspot.com/docs/llms.txt
Use this file to discover all available pages before exploring further.
Requirements
Keep the following requirements in mind when building your app:- Calling app appears inline within HubSpot: you want the users of your calling app to be anchored within HubSpot since it’s their primary workspace. To accomplish this, you’ll need to anchor the calling app to the HubSpot navigation bar via the calling remote.
- Calls are not interrupted by user navigation: users should be able to move between pages in HubSpot without losing an ongoing call. To avoid triggering a full page refresh when navigating in HubSpot, which would cause calls to drop, you can leverage the detached calling window, which will hold the call connection and maintain site navigation functionality.
Approaches to designing your app
The following approaches are available when designing the UI of your integration:1. Use both the calling remote and the calling window
For a fully featured calling app experience, you can take this approach to ensure that your app appears in the calling remote, and the call connection is also held in the calling window. You’ll need to ensure that your integration synchronizes the state of the calling remote and the calling window. For a guide on how to implement this approach, check out the section on calling state synchronization.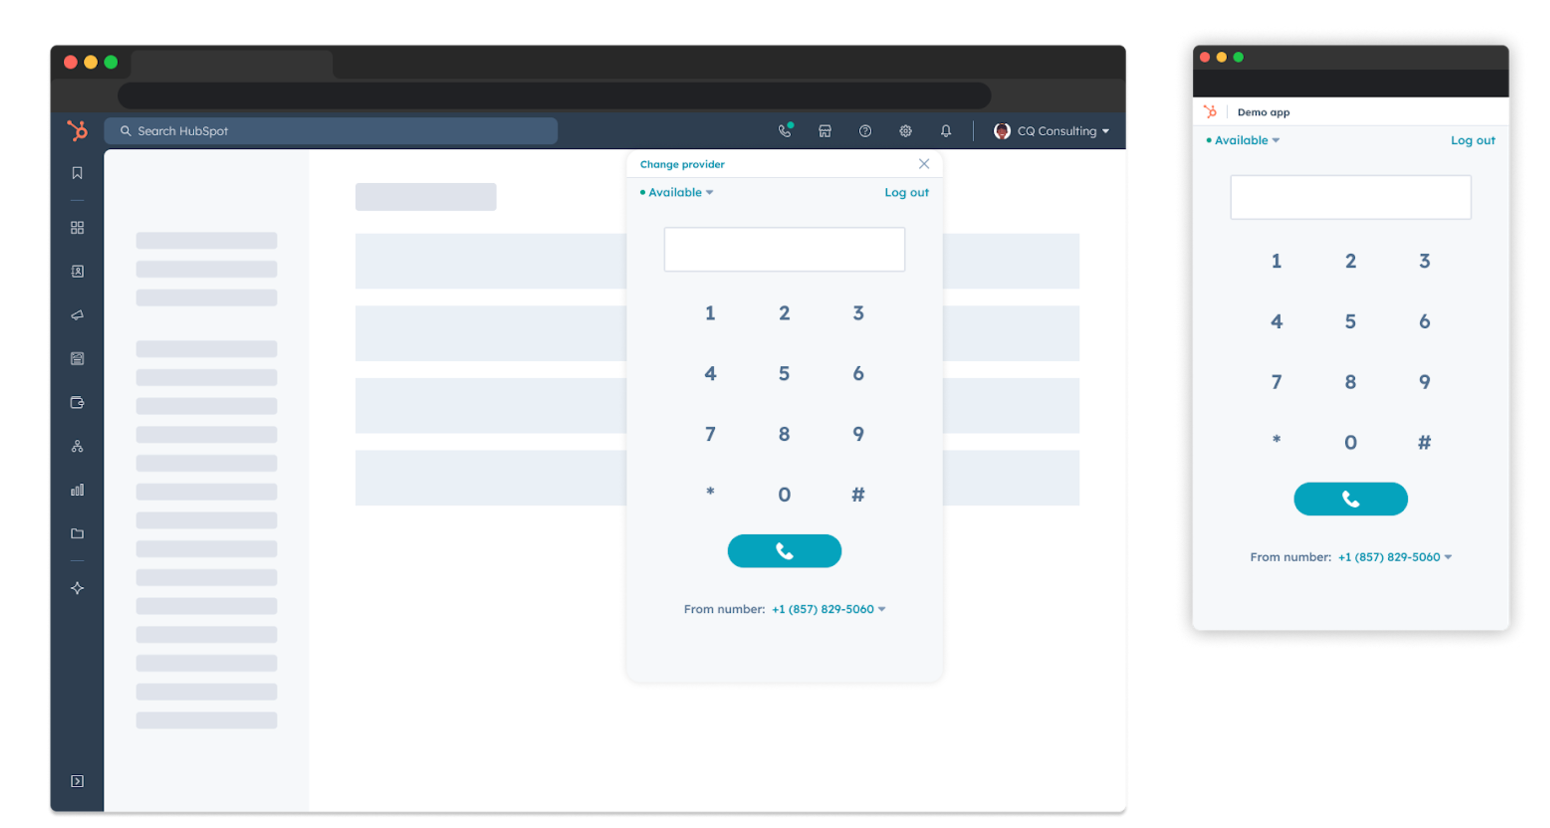
2. Use the calling remote only
With this approach, your calling app will appear in the calling remote, anchored to the HubSpot navigation bar. The main difference between this approach and the first approach is that your calling app must hold the connection using a desktop application or some other custom solution. If you don’t implement a custom solution to hold the connection, calls will still work but they’ll be disconnected if the user navigates to another HubSpot page. This is similar to the inline call widget experience.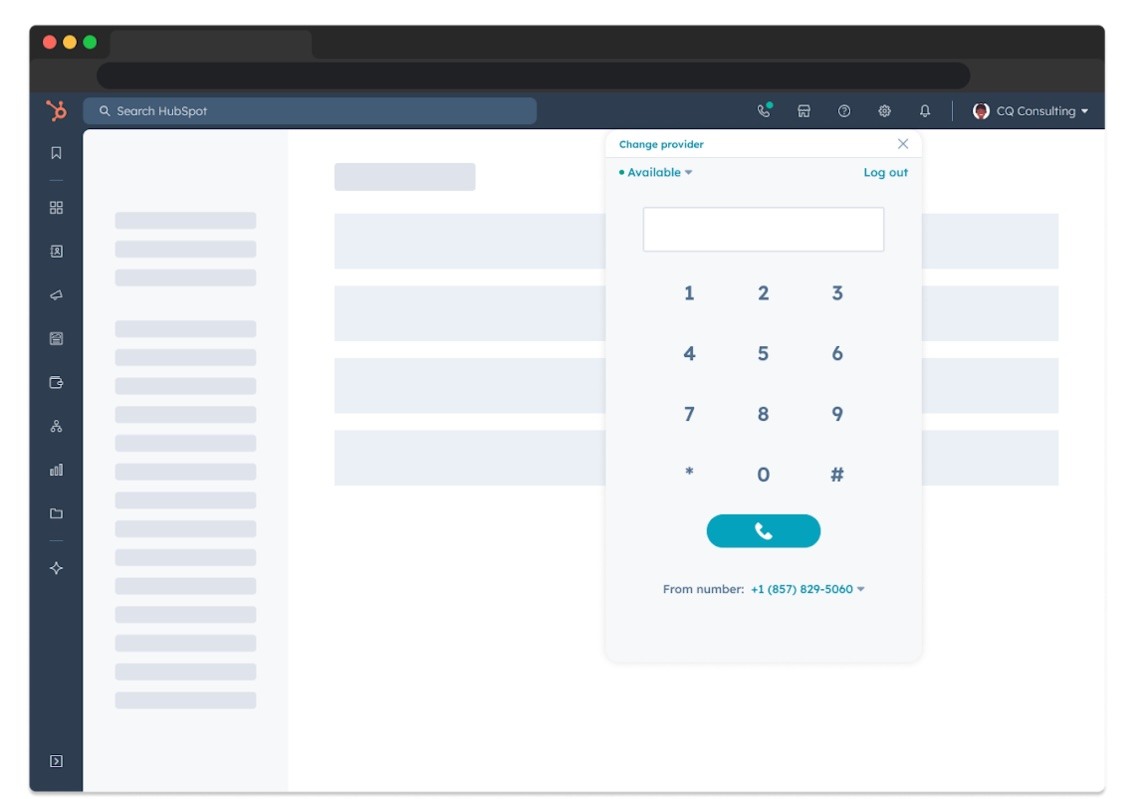
Configure your inbound calling integration
Follow the steps below to set up and configure your integration so users can receive inbound calls within HubSpot.1. Configure your calling extension settings
Based on the approach you take for the calling experience of your app, update your app settings by making aPATCH request to /crm/extensions/calling/2026-03/{APP_ID}/settings?hapikey={DEVELOPER_ACCOUNT_API_KEY}, and provide the ID of your app and your developer account API key in the request.
| Field name | Type | Description |
|---|---|---|
supportsInboundCalling | Boolean | Enables inbound calling feature. The flag is set to false by default. This extension setting gates users to the new inbound calling experience and instead shows the drag and drop call widget in record pages for outbound calling. |
usesCallingWindow | Boolean | Determines whether the calling window is used. |
- If you’re using both the calling remote and calling window in your app, the
supportsInboundCallingfield andusesCallingWindowfield should both be set totrue:
- If you decide to use the remote-only approach, you should set the
supportsInboundCallingfield totrueand theusesCallingWindowfield tofalse:
2. Install the latest version of Calling SDK
For npm, run:3. Set user availability
You must set the user’s availability using one of the following events:- Via the
initializedevent:
- Via the
userAvailableevent:
- Via the
userUnavailableevent:
4. Send message to notify HubSpot that an inbound call started
You will be able to send calling lifecycle events, such ascallAnswered and callCompleted, in the same way it is done for outgoing calls.
- If you’ve set
createEngagementto true, you can subscribe toonCreateEngagementSucceededandonCreateEngagementFailed. It is recommended you do this so that you can enable your calling app to support custom objects. This will allow future integration into other areas of HubSpot.
5. Receive caller ID matches
- You will be able to subscribe to
onCallerIdMatchSucceededandonCalledIdMatchFailed. This will enable you to receive contact matching data for the incoming call that previously had to be obtained via the Search API, and will solve its rate limitations.
6. Navigate to a record page
Once you receive the caller ID matches, you can send HubSpot a message to navigate to a contact or company record page.navigateToRecord payload and will sync with the SDK in the onReady event. You’ll need to re-initialize the SDK using the engagement ID and show an incoming call within the iframe.
7. Set the provider
Before logging in to your calling app, you’ll need to select the provider from your call settings:- In your HubSpot account, click the settings icon in the main navigation bar.
- In the left sidebar menu, click General. Then, click the Calling tab at the top.
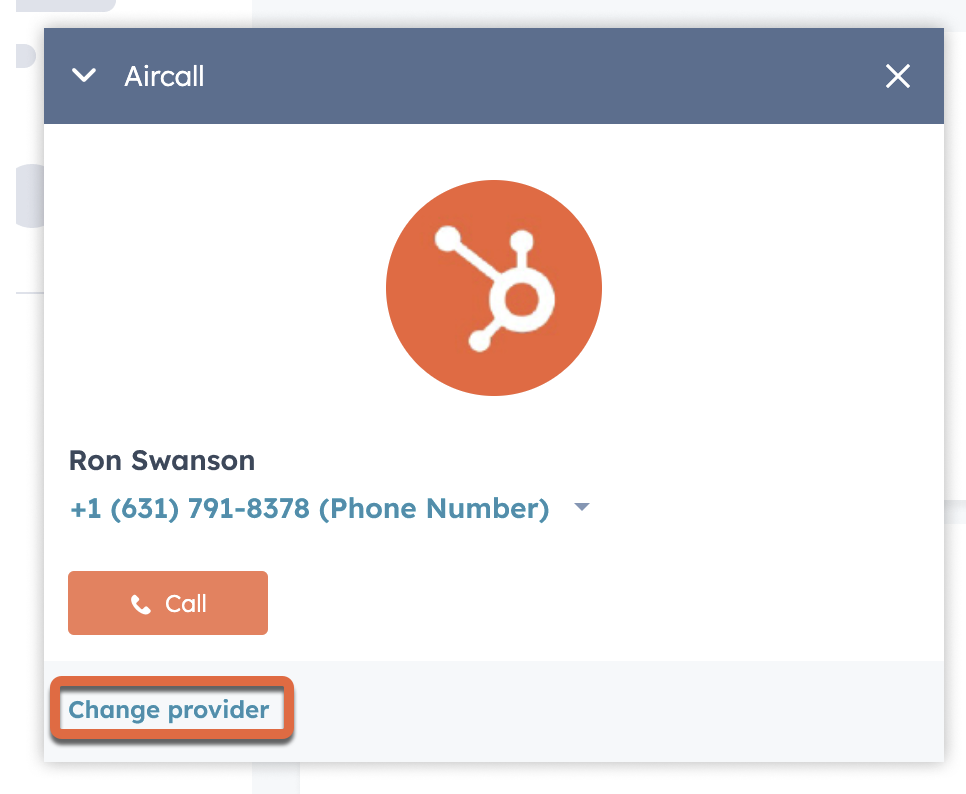
- Click the Make and receive calls through dropdown menu, then select your calling app.
8. Receive incoming calls
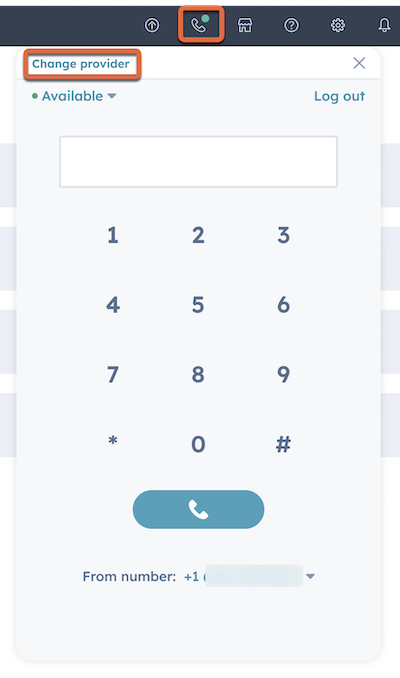
If you’ve not already set up an integration with any of the calling apps, learn more.- Log in to your calling app through the call widget in HubSpot. The call widget can be accessed on the main navigation bar.
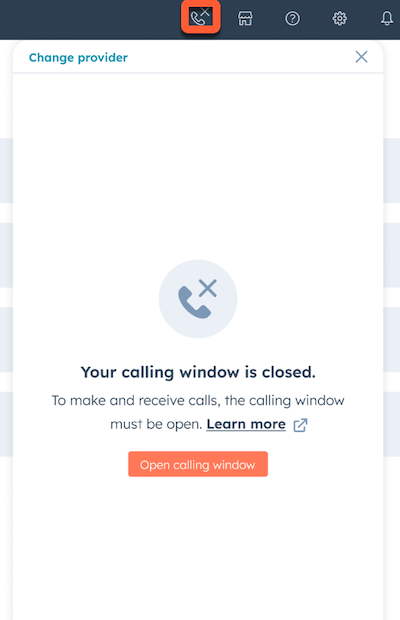
- Open calling window if calling window is used by your calling app.
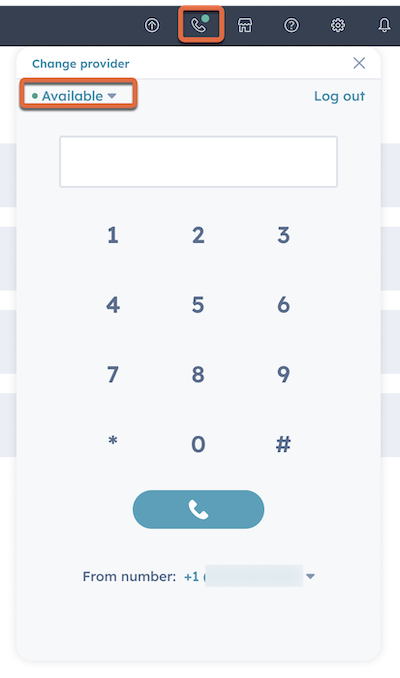
- Set availability to “Available” to start receiving calls.

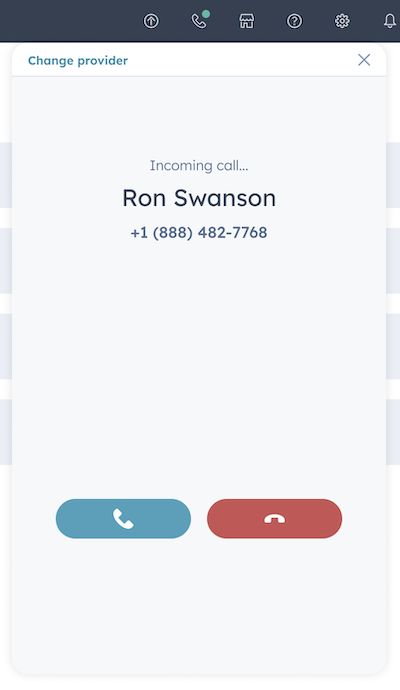
- Answer inbound calls from the call remote.
Calling state synchronization
If you decide to take the first approach above and implement the calling remote and window functionality when building your app, calling apps will maintain their call connection in the calling window of your app. Your integration must still handle synchronizing state between the calling window and the calling remote. The setup section below outlines how to structure anonReady event handler to conditionally respond to different user events. You can review a full example in the calling-extensions-sdk repository.
Setup
When HubSpot is ready to receive messages, theonReady event handler will be called with a set of properties, including iframeLocation. You can use this property in your app to define conditions based on the value of iframeLocation:
iframeLocation = window: this means your calling app is hosted in the detached calling window. It’s recommended to handle the main calling logic in the calling window to maintain the call connection while navigating throughout HubSpot.iframeLocation = remote: this indicates that your calling app is hosted in the anchored calling remote. It’s recommended that you use the remote to reflect the calling state happening in the calling window and rely on the calling window to handle the main calling logic. This ensures users can navigate freely within HubSpot without disconnecting their calls.
Example
One option to keep instances of your calling application synchronized is to use the broadcast channel API. Based on whether the user is starting an outbound call from the remote or the calling window, you can structure your logic accordingly: When a user starts the outbound call from the remote:- The remote UI updates to display a ringing state.
- The remote UI sends a broadcast message to the calling window.
- When the calling window receives the broadcast message:
- The calling window UI places the call based on your app’s custom routing logic.
- The calling window UI updates to display a ringing state.
- If necessary, the calling window uses any other methods from the calling extensions SDK to display additional updates (e.g., recording the call)
- The calling window UI places the call based on on your app’s custom routing logic.
- The calling window UI updates to display a ringing state.
- The calling window UI sends a broadcast message to the remote.
- If necessary, the calling window uses the Calling Extensions SDK to communicate updates.
- When the remote receives the broadcast message, the remote UI updates to display the ringing state.