Set up the User import source feature
Before you configure your app to use the User import source feature, you’ll need to set up and host two API endpoints that will acceptPOST requests from HubSpot when a customer who’s installed your app triggers a bulk user import.
One endpoint you set up will be to return account data, while the other will return user data. The specifications for each endpoint are detailed in the sections below.
Requests are sent with the HubSpot Signature. To ensure that the requests that are received are from HubSpot, they can be validated using the signature: /apps/legacy-apps/authentication/validating-requests
Endpoint to return account data
The URL of the endpoint that returns account data should be structured likehttps://BASE_PATH_OF_YOUR_SERVICE/feature/USER_IMPORT/event/FETCH_ACCOUNTS.
HubSpot wil provide the following fields in the body of the request:
POST request to the endpoint should be a JSON-formatted object with the following fields:
- JSON
Endpoint to return user data
The URL of the endpoint that returns account data should be structured likehttps://BASE_PATH_OF_YOUR_SERVICE/feature/USER_IMPORT/event/FETCH_USERS.
HubSpot will provide the following fields in the body of the request:
- JSON
POST request to the endpoint should be a JSON-formatted object with the following fields:
- JSON
- In your HubSpot account, navigate to Development.
- In the left sidebar menu, navigate to Legacy apps.

- Click the name of the app.
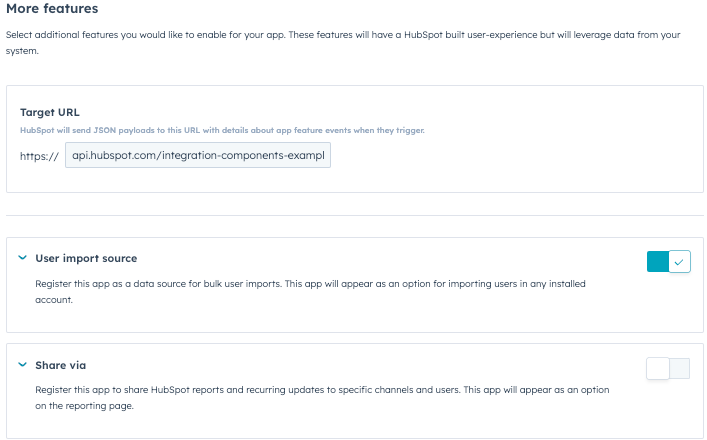
- In the left sidebar, click More features.
- In the Target URL section, enter the URL that HubSpot will make a
POSTrequest to when events trigger. Or, use this testing URL:https://api.hubspot.com/integration-components-example/v1/sample-app-webhooks/beta-app - Click to toggle the User import source switch on.
- Click Save changes.
Test the functionality
After setting up your two endpoints and configuring your app settings, you can test your endpoints out:- Install your app.
- In your HubSpot account, click the settings icon in the top navigation bar.
- In the left sidebar menu, navigate to Users & Teams.
- Click Create user.
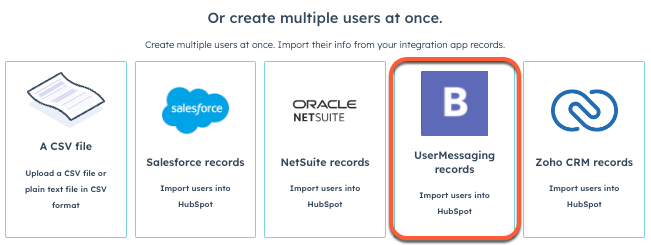
- In the Or create multiple users at once section, click your app to begin the import process.
- Follow the steps in this article to import and set up your users.