Send requests from your extension to a backend that you manage, or to a public endpoint.
All extension points
If you receive raw property values via actions.fetchCrmObjectProperties, a hubspot.serverless() call that reads CRM data, or a hubspot.fetch() request to the HubSpot CRM APIs, you can pass the results to the formatCrmProperties utility to apply HubSpot’s display formatting. For example, resolve enumeration values to their display labels.
The CRM data hooks fetch data using the context of the CRM record where an extension is displayed. They handle loading state, error handling, and property formatting automatically. They also offer utility functions for data refetching and pagination.The CRM-specific hooks are only available in CRM extension points: crm.record.tab, crm.record.sidebar, crm.preview, and helpdesk.sidebar.Learn more about using CRM data hooks on the hooks reference page.
import { useCrmProperties, useAssociations } from "@hubspot/ui-extensions/crm";
Use actions.fetchCrmObjectProperties to fetch property values from the current CRM record imperatively. For example, when you need to control exactly when fetching occurs rather than fetching on render.This action is only available in CRM extension points: crm.record.tab, crm.record.sidebar, crm.preview, and helpdesk.sidebar.
For most use cases, useCrmProperties is the better choice. It provides automatic state management, property formatting, and live updates when properties change.
Use hubspot.serverless() to call a serverless function from your UI extension. Serverless JavaScript functions execute within HubSpot’s infrastructure, which eliminates the need to manage your own external server.Learn more about serverless functions.
Please note: an Enterprise subscription is required to install an app with serverless functions. You can use a developer test account to test serverless functionality during development without an Enterprise subscription.
import { hubspot } from '@hubspot/ui-extensions';const result = await hubspot.serverless('my_function', { parameters: { key: 'value' }, propertiesToSend: ['firstname', 'email']});
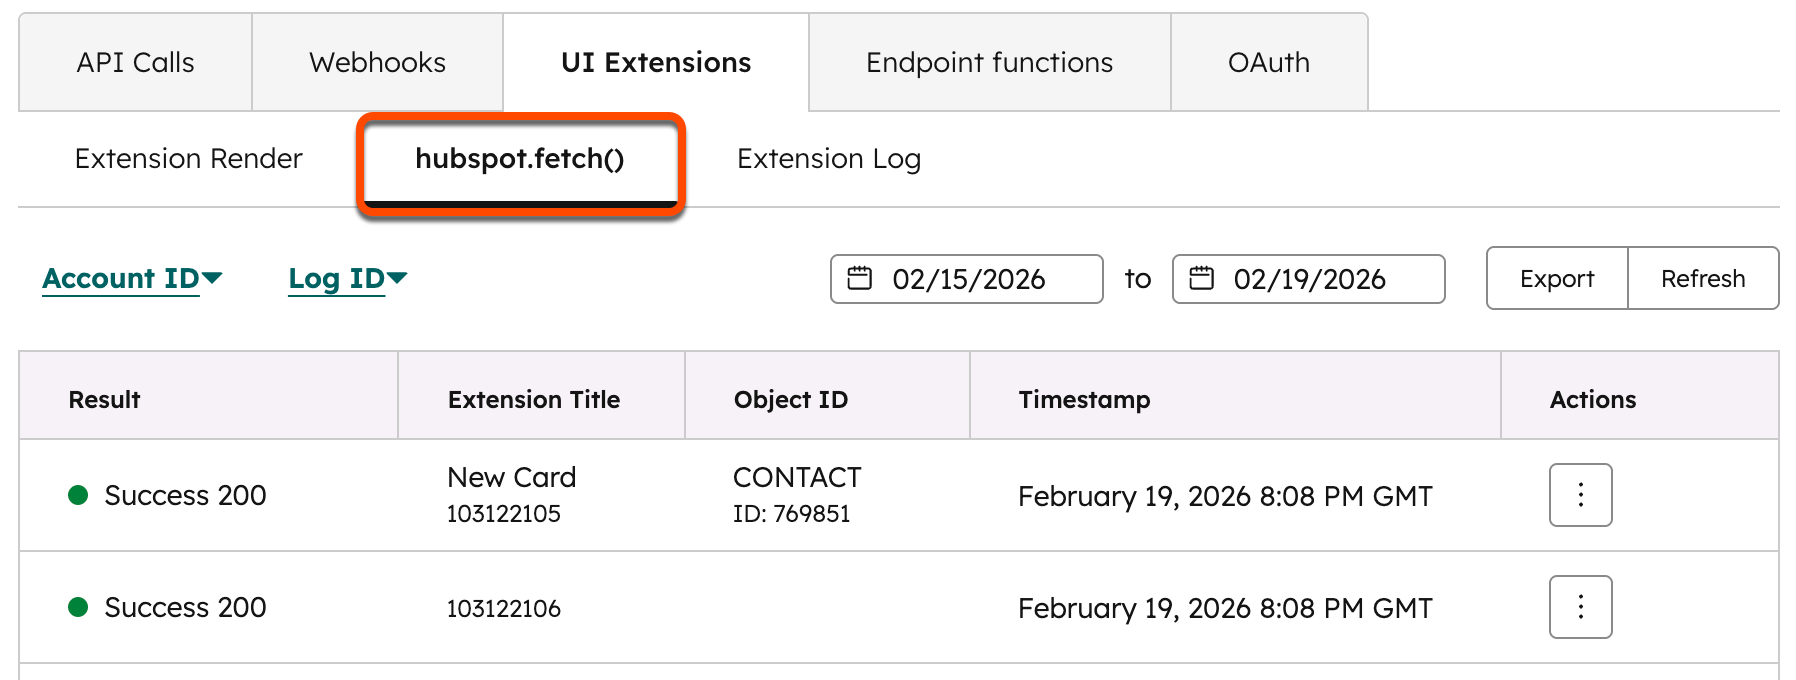
Use hubspot.fetch() to make requests from a UI extension to your own backend or a third-party API. It works in all extension points (app cards, app homes, app settings, etc.).To fetch data using this method, you’ll need to:
Provide a REST-based backend service to handle requests.
To make calls to your backend or a third-party service, update the app’s *-hsmeta.jsonconfiguration file to include the URLs you’ll be requesting. The URLs must be specified in the fetch array of permittedUrls.
Note the following when configuring permitted URLs:
Fetch URLs must be valid HTTPS URLs and cannot be localhost. If you want to send requests to a locally running backend, learn how to proxy requests.
Entries in permittedUrls.fetch are treated as prefixes. A request to https://api.example.com/api/data/users will be allowed if https://api.example.com/api/data/ is listed.
Wildcards are not supported.
If a URL is not included in permittedUrls.fetch, the request will fail with a 403 Forbidden error.
permittedUrls entry
Request URL
Allowed?
https://api.example.com/api/data/
https://api.example.com/api/data/users
Yes
https://api.example.com/api/data/
https://api.example.com/other/endpoint
No
https://api.example.com/
https://api.example.com/api/data/users
Yes
When running the local development server, any hubspot.fetch() request will still go to your hosted backend via a HubSpot-managed data fetch service. If you need to update the allowlist while running the dev server, you’ll need to run hs project upload for the change to take effect.
Time in milliseconds to allow for the request to complete before timing out. Maximum value is 120000 (2 minutes). When not specified, the default timeout is 15 seconds. See Limits for retry behavior.
body
Object
The request body.
Please note: for security reasons, you should not store secrets in your React code to communicate with third-party backends. Instead, use your own backend to fetch data from other third-party APIs after validating the HubSpot signature on the request.
To ensure that the requests hitting your backend are coming from HubSpot, several headers are included in the request. You can use these headers, along with the incoming request fields, to verify the signature of the request. Learn more about validating HubSpot requests.HubSpot will always populate headers related to request signing and also allow you to pass a custom Authorization header from hubspot.fetch(). See the example hubspot.fetch() request with Authorization header for more information. All other client-supplied request headers are stripped. Response headers from your backend are not returned.HubSpot also automatically adds the following query parameters to each request to supply metadata:
userId
portalId
userEmail
appId
As the request URL is hashed as part of the signature header, this will help you securely retrieve the identity of the user making requests to your backend.
Note the following:
While you can use hubspot.fetch() to pass an Authorization request header, hubspot.fetch() does not pass other client-supplied request headers or return response headers set by your backend server.
If you’re not seeing appended metadata passed with hubspot.fetch() requests, check whether you have a local.json file that’s currently rerouting requests via a proxy. If so, disable this local data fetch feature by renaming the file to local.json.bak and restarting the development server.
Requests made with hubspot.fetch() are subject to the following limits:
Concurrency: each app is allowed up to 20 concurrent requests per account. Additional requests are rejected with 429 and can be retried after a delay.
Timeout: each request has a default timeout of 15 seconds. It can be increased up to 120 seconds (2 minutes) using the timeout option. HubSpot will automatically retry a request once if there are issues establishing a connection, or if the request fails with a 5XX status code within the timeout window. Request duration time includes the time required to establish an HTTP connection.
Payload size: both request and response payloads are limited to 1 MB.
If you’re familiar with using the browser Fetch API, note that hubspot.fetch() is not a one-to-one replacement. Key differences between the two APIs are listed below.
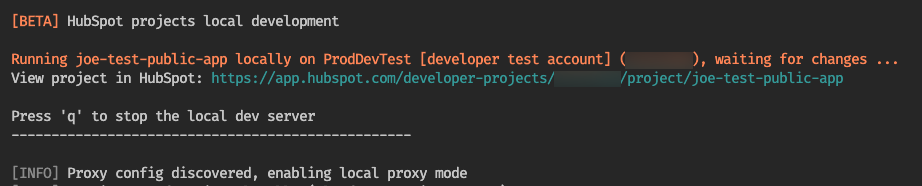
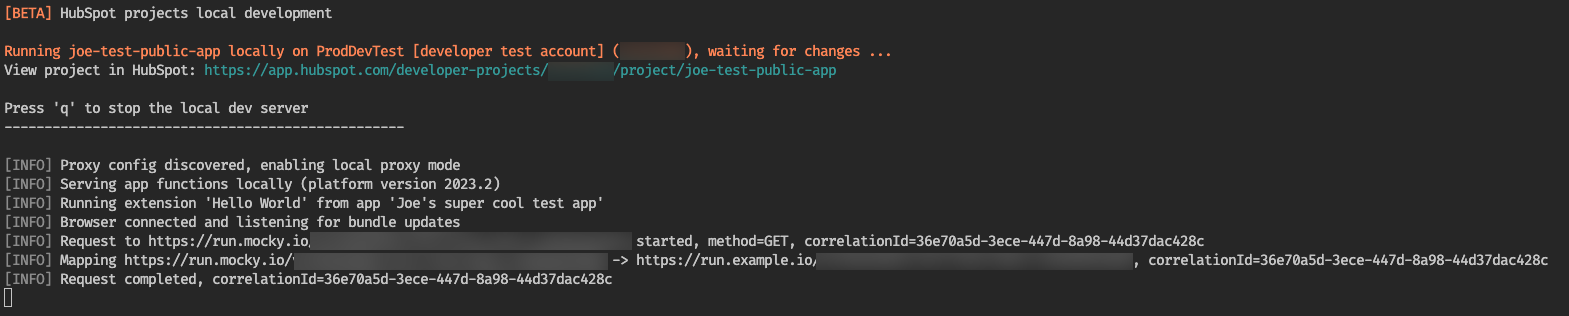
If you have a locally running backend, you can set up a proxy to remap hubspot.fetch() requests made during local development. This proxy is configured through a local.json file in your project, and will prevent requests from being routed through HubSpot’s data fetch service.To proxy requests to a locally running backend:
Create a local.json file in the same directory as your public-app.json file. In this file, define a proxy that remaps requests made using hubspot.fetch(). This mapping will only happen for the locally running extension. You can include multiple proxy key-value pairs in the proxy object.
Request signatures during proxied local development
By default, when proxying requests during local development, requests will not be signed or include metadata in query parameters. However, if you want to introduce request signing into the local development process, you can inject the CLIENT_SECRET environment variable into the local development process.
Injecting CLIENT_SECRET
After setting up your local.json file to proxy specific domains, you can inject the CLIENT_SECRET variable when starting the local development server by prepending the hs project dev command with the variable:
CLIENT_SECRET="abc123" hs project dev
Note that this doesn’t have to be a real CLIENT_SECRET value, as long as you inject the same variable in your locally running backend that you’re using for hs project dev. For example, your backend might include the following Node or Python code:
CLIENT_SECRET="abc123" node my-app.js// and alsoCLIENT_SECRET="abc123" npm run dev
CLIENT_SECRET="abc123" python my-app.py
And to access the CLIENT_SECRET variable:
console.log(process.env.CLIENT_SECRET);
import osprint(os.environ['CLIENT_SECRET'])
Once you’ve finalized your request signing logic and have permanently added it to your backend code, you’ll need to inject the CLIENT_SECRET variable from your app into the hs project dev command permanently. For ease of use, consider baking the variable into your start scripts for local development.To validate HubSpot request signatures in your custom backend, check out the request validation guide. You can also use HubSpot’s @hubspot/api-client npm module to verify requests and sign them yourself. For example:
You may return a short-lived authorization token from your backend service after validating the HubSpot signature. You can then use this token to access other resources.To get the access token from your backend server in the UI extension: