Overview
Sections can be created either in the content editor by a content creator or built by a developer into adnd_area, with the dnd_section tag.
The styling options available in the editor are available when coding a template as well. For example:
Create reusable sections
Within a theme, you can include preconfigured sections that content creators can add to pages using that theme within the page editor. These reusable sections are built as section template files and are coded within the same syntax that you would use inside adnd_area.
Below, learn how to create section template files and then reference them in other template files.
Section template files
Section templates are denoted withtemplateType: section in their template annotation.
A section template must begin and end with a
dnd_section tag. Only one dnd_section can exist within a section template. Inside of that section, you can place modules, rows and columns, following the same dnd_area rules that apply when adding a dnd_area to a page template. The exception is that you are defining the content for just a section and its child drag and drop elements.
Add a section partial to a template
After creating a section, you can reference it within adnd_area by using a include_dnd_partial tag. This tag provides the path pointing to the section file, as shown below:
In the above example, note the context argument in the
include_dnd_partial tag. This allows you to pass instance specific variables from the page template to the section, overriding the default values in the section file. See section context for more information.Section context
You can use section context variables to override section level and module level default values. Section context variables are defined by you and are not associated directly with the modules and their fields. In your page template you can set these context variables through thecontext parameter in the include_dnd_partial tag.
context parameter will become available to reference within your section template. The following example shows how to set the image URL and rich text area and button content set in context if it exists.
Notice everywhere context variables are used, there is an
|| OR filter to provide fallback default content if none is provided. For example, in the button module, if context.buttonText has a value, the page will use it. Otherwise, the text is set to Subscribe.Section classes
In section templates, you can add classes to the section wrapper using the class parameter. This will add the class you specify to the class field of the dnd section’s html element. It’s recommended wherever possible that you use styling controls built into sections to enable content creators to be able to modify them.Previewing your section
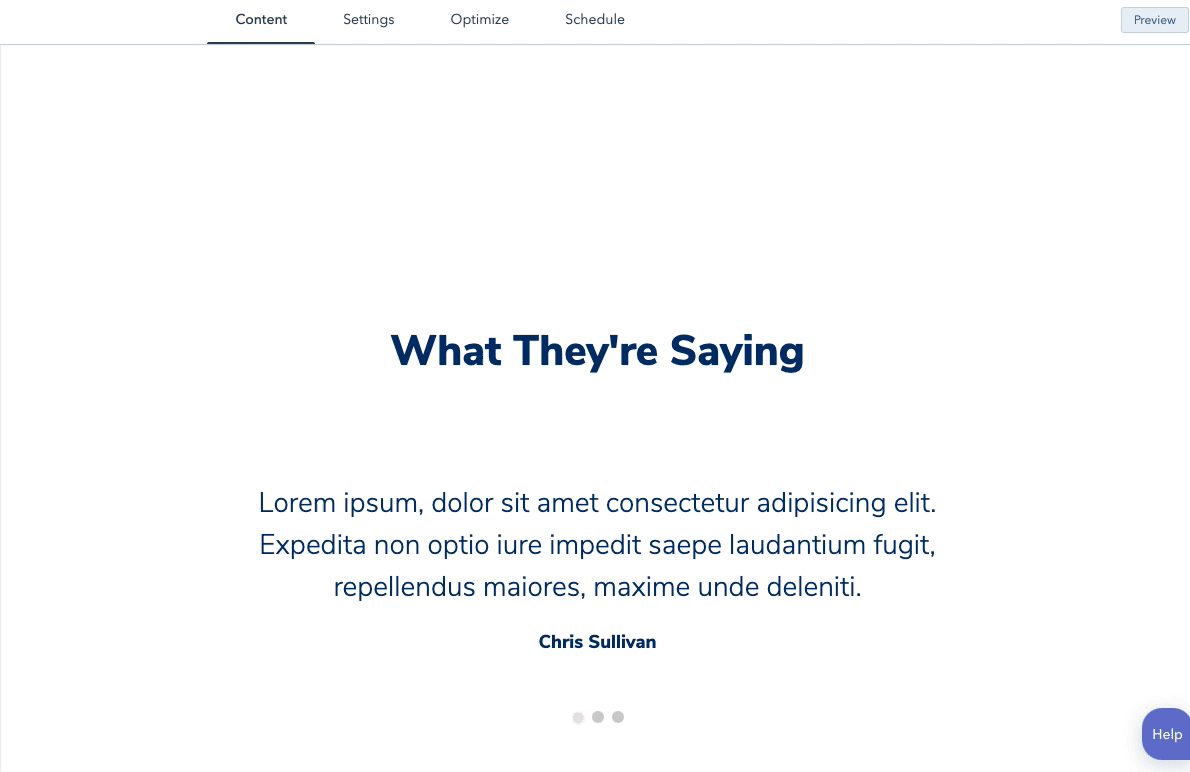
The easiest way to preview your section while developing, is to use the Design Manager. Open a template containing adnd_area which calls your section template using a include_dnd_partial tag. In the top right corner click preview. This way you can keep updating your section and see your changes reflected right away. This is much more efficient than having to create a new page for each change you make.
Copy section HubL
In the page editor, you can copy the HubL markup for a section to reuse the code as needed. This can be helpful when wanting to recreate drag and drop sections in a coded file.- First, enable developer mode in the page editor by loading the editor with the following query parameter added to the URL:
?developerMode=true.

- Then, hover over the section you want to copy, then click the down arrow icon in the hover toolbar. Select Copy as HubL. The HubL markup will then be copied to your clipboard.
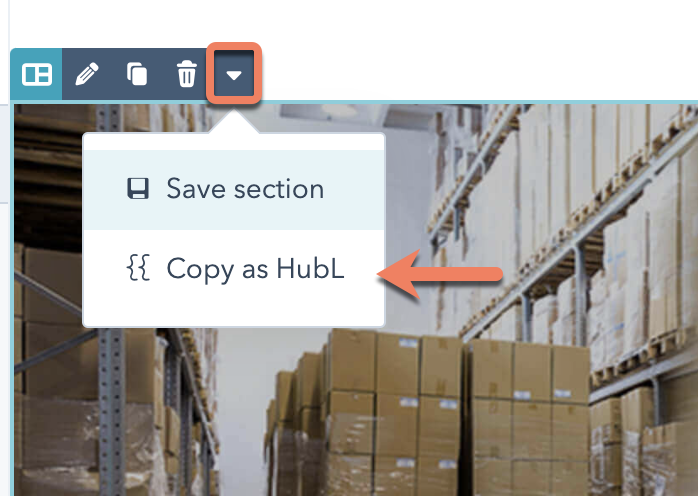
- To exit developer mode, click Exit developer mode in the upper right.
