Blog settings
In this area you will control the content settings for your sites blog(s). If you have multiple blogs, you can switch between them using the dropdown under the “Select a blog to modify” heading.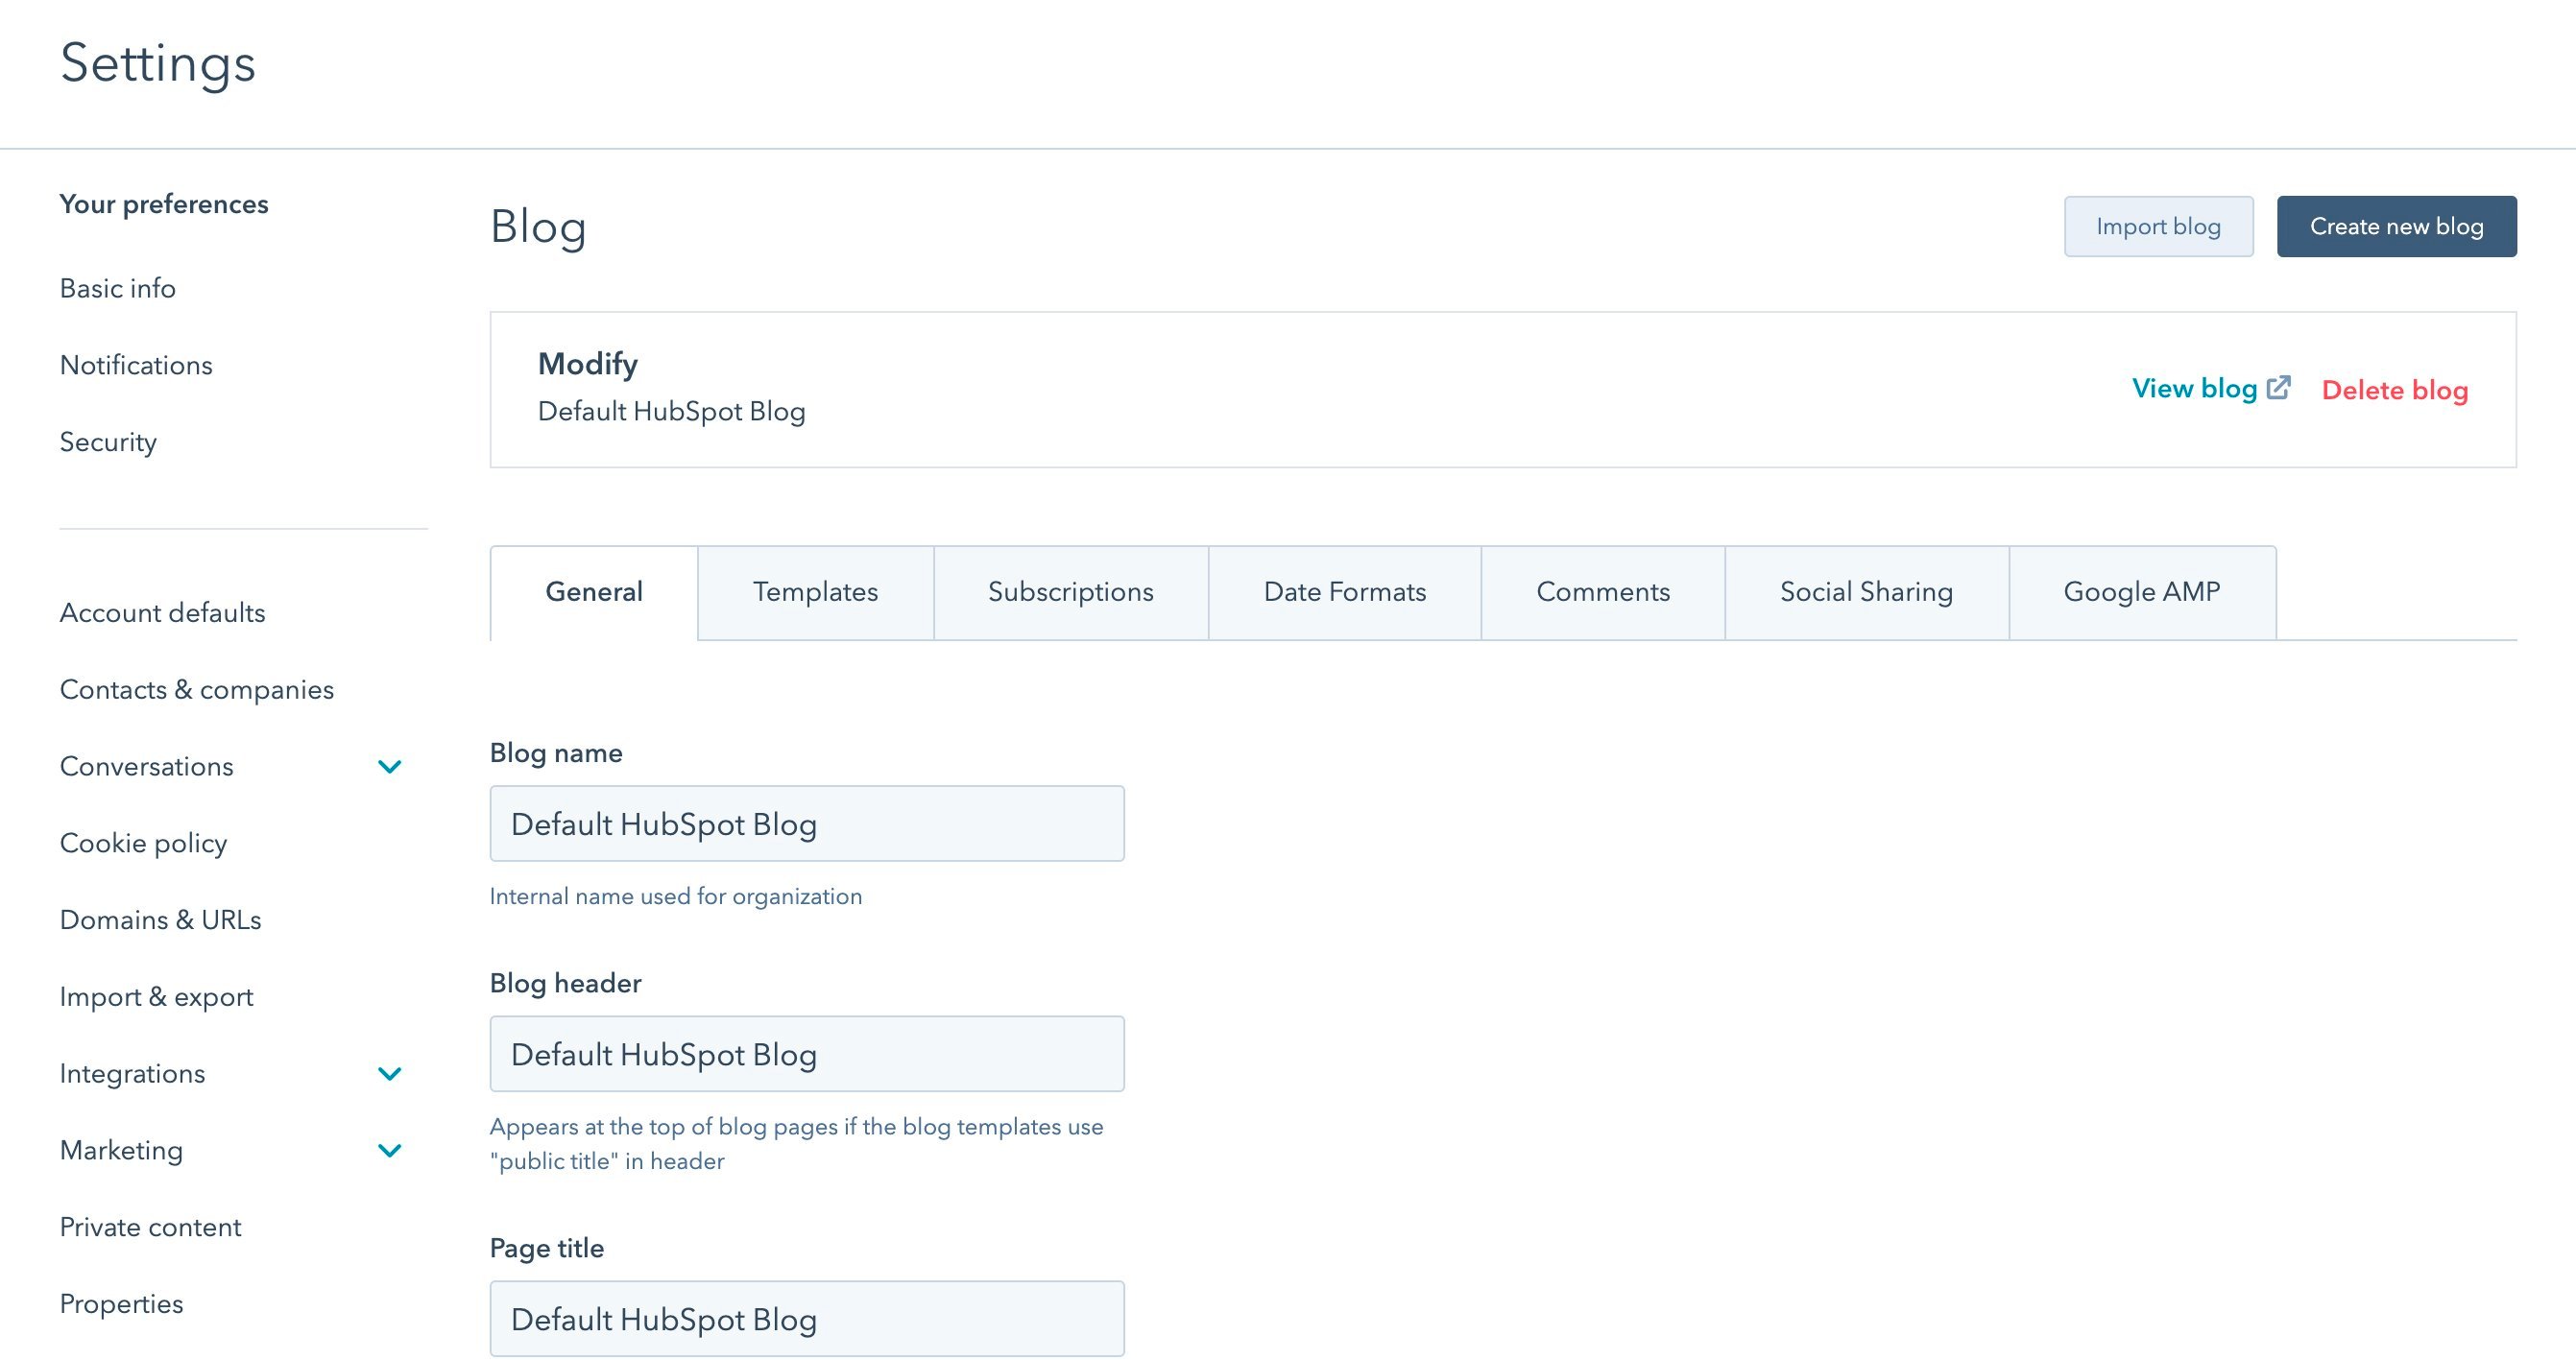
General Tab
Blog name
The HubL variables{{ content.blog }} and {{ group.public_title }} will render the name set here.
Blog header
The HubL variable{{ group.header }} will render the header set here.
Page Title
The HubL variable{{ group.html_title }} will render the title set here.
Meta description
The HubL variable{{ group.description }} will render the description set here. This meta description will be used on blog listing pages.
Blog root URL
The blog root URL will precede individual blog post slugs. The HubL variable{{ group.absolute_url }} will render the URL set here.
Control audience access
You can control audience access to an entire blog via this setting. More on that here.Templates Tab
Current template
This is the template used for all blog posts in a particular blog. The same template will be used for blog listing pages as well by default. Varying content for listing pages versus posts can be written within the Post Content module.Template for listing pages (optional)
This setting enables a different template for blog listing pages other than the template used for blog posts.Number of posts per listing page
This determines the number of post items that appear on a blog listing page by default.Header HTML
Any code added to the blog listing header HTML will be added to all listing pages via the{{ standard_header_includes }} variable. Any code added to the blog post header HTML will be added to all blog posts via the {{ standard_header_includes }} variable.
Footer HTML
Any code added to the blog listing footer HTML will be added to all listing pages via the{{ standard_footer_includes }} variable. Any code added to the blog post footer HTML will be added to all blog posts via the {{ standard_footer_includes }} variable.
Subscriptions Tab
Blog subscriber notification emails
Instant, Daily, Weekly, and Monthly blog notification emails can be enabled and edited via this setting. These emails go out automatically if new blog posts were published in the given timeframe. Read more here.RSS feed
The number of post items in the blog RSS feed can be determined via this setting. There is a maximum of 50 posts.Date Formats Tab
Language for dates
This setting determines the language of months and days that appear in blog dates.Publish date format
The format set here determines the order and pattern of publish dates in blogs. Using Local Data Markup Language, it is possible to specify a custom date format.Posts by month format
The format set here determines the order and pattern of posts by month. Using Local Data Markup Language, it is possible to specify a custom date format.Comments Tab
Enable or disable blog comments
It is possible to enable or disable blog comments via this setting. Comments can require moderation, or have an established timeframe after which comments are automatically closed.Blog comment notifications
Blog comments can trigger email notifications to specified users via this setting.Social Sharing Tab
Default Twitter account
The Twitter account specified here will be used for Twitter Cards when content is shared on Twitter.Social sharing buttons
Social sharing buttons for Twitter, LinkedIn, and Facebook can be automatically added to blog posts via this setting.Google AMP Tab
Accelerated Mobile Pages (AMP) load your content instantly. Read more here. In order to load content so quickly, a simplified page experience is required. AMP content has limited styling control for this reason.Enable or disable Google AMP
Google AMP formatted pages can be enabled via this setting. AMP logo, font, and color settingsAMP-specific settings for a logo, header formatting
In order to deliver AMP content, simplified styling is required. Determine AMP-specific styles for the logo, header formatting, fonts, and colors via these settings.Navigation settings
You can manage your menu links and labels in this area. You can switch between which menus you want to configure by choosing the dropdown and selecting your desired menu. Learn more about setting up your sites navigation menus here.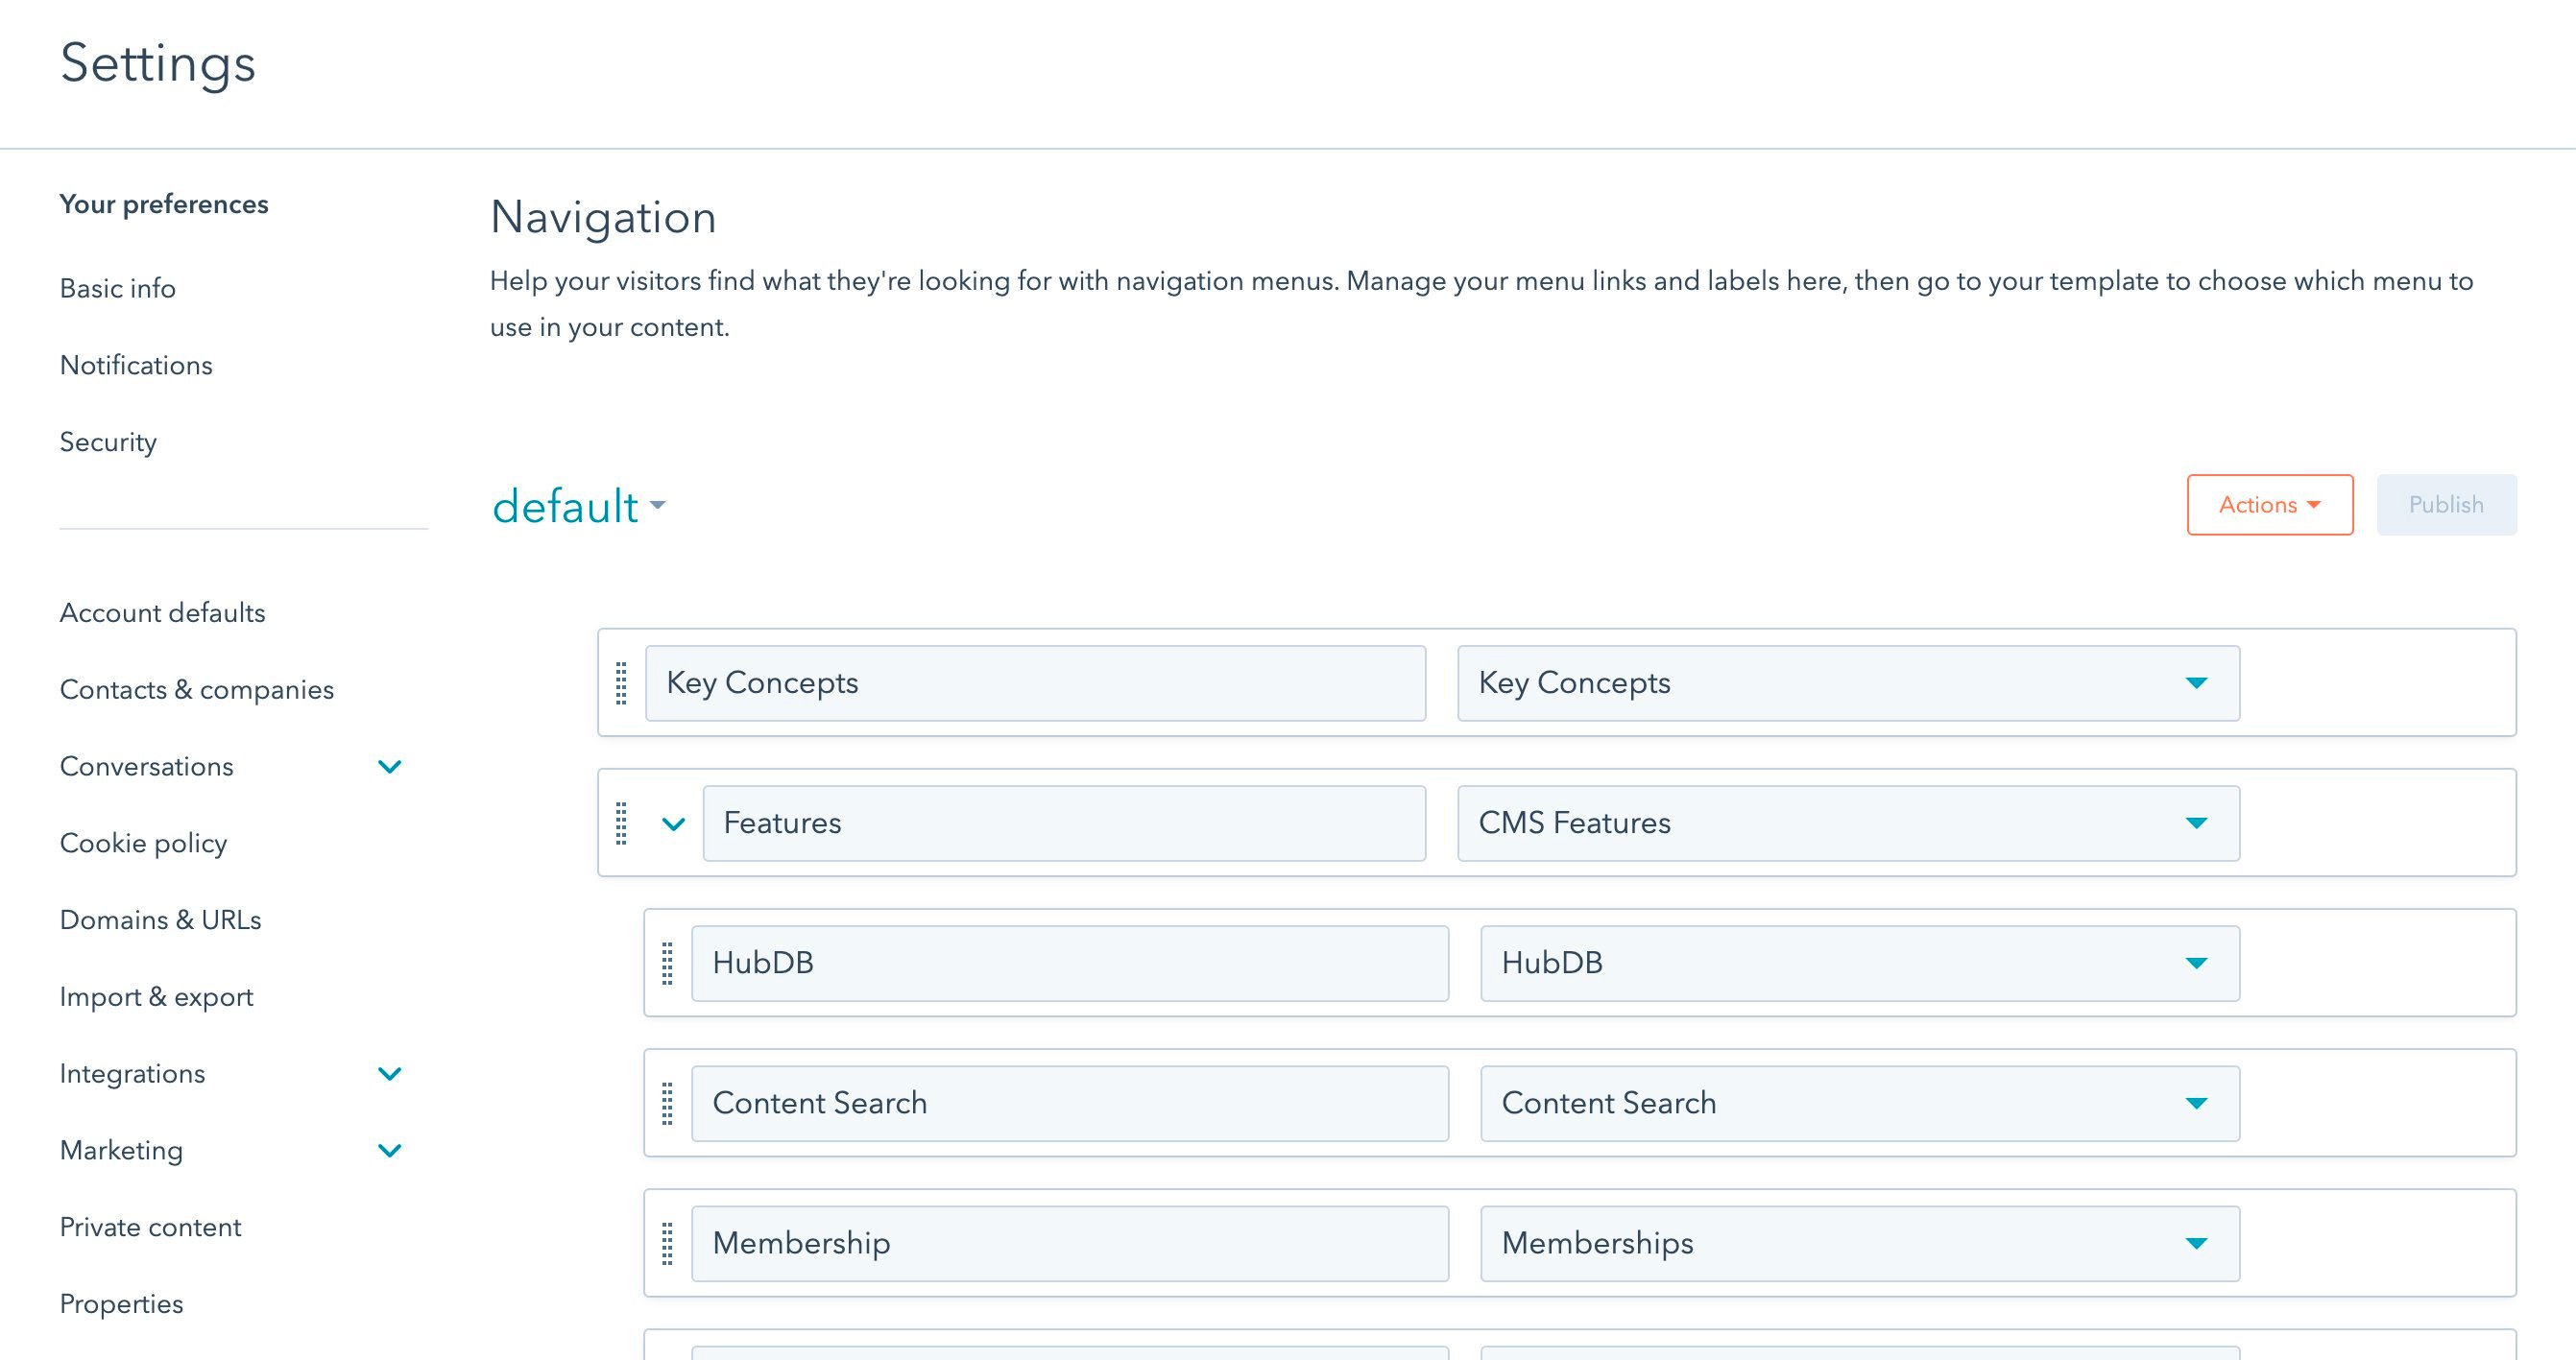
Page settings
Settings are broken down by domains, and default values for all domains can be set. The “Default for all domains” settings will be displayed when navigating to Pages Settings. There is a toggle at the top of the screen to view and modify settings for specific subdomains. Settings applied to specific subdomains will override the default for all domains settings. Only users with the “Edit website settings” Marketing permission can access and edit Content Settings.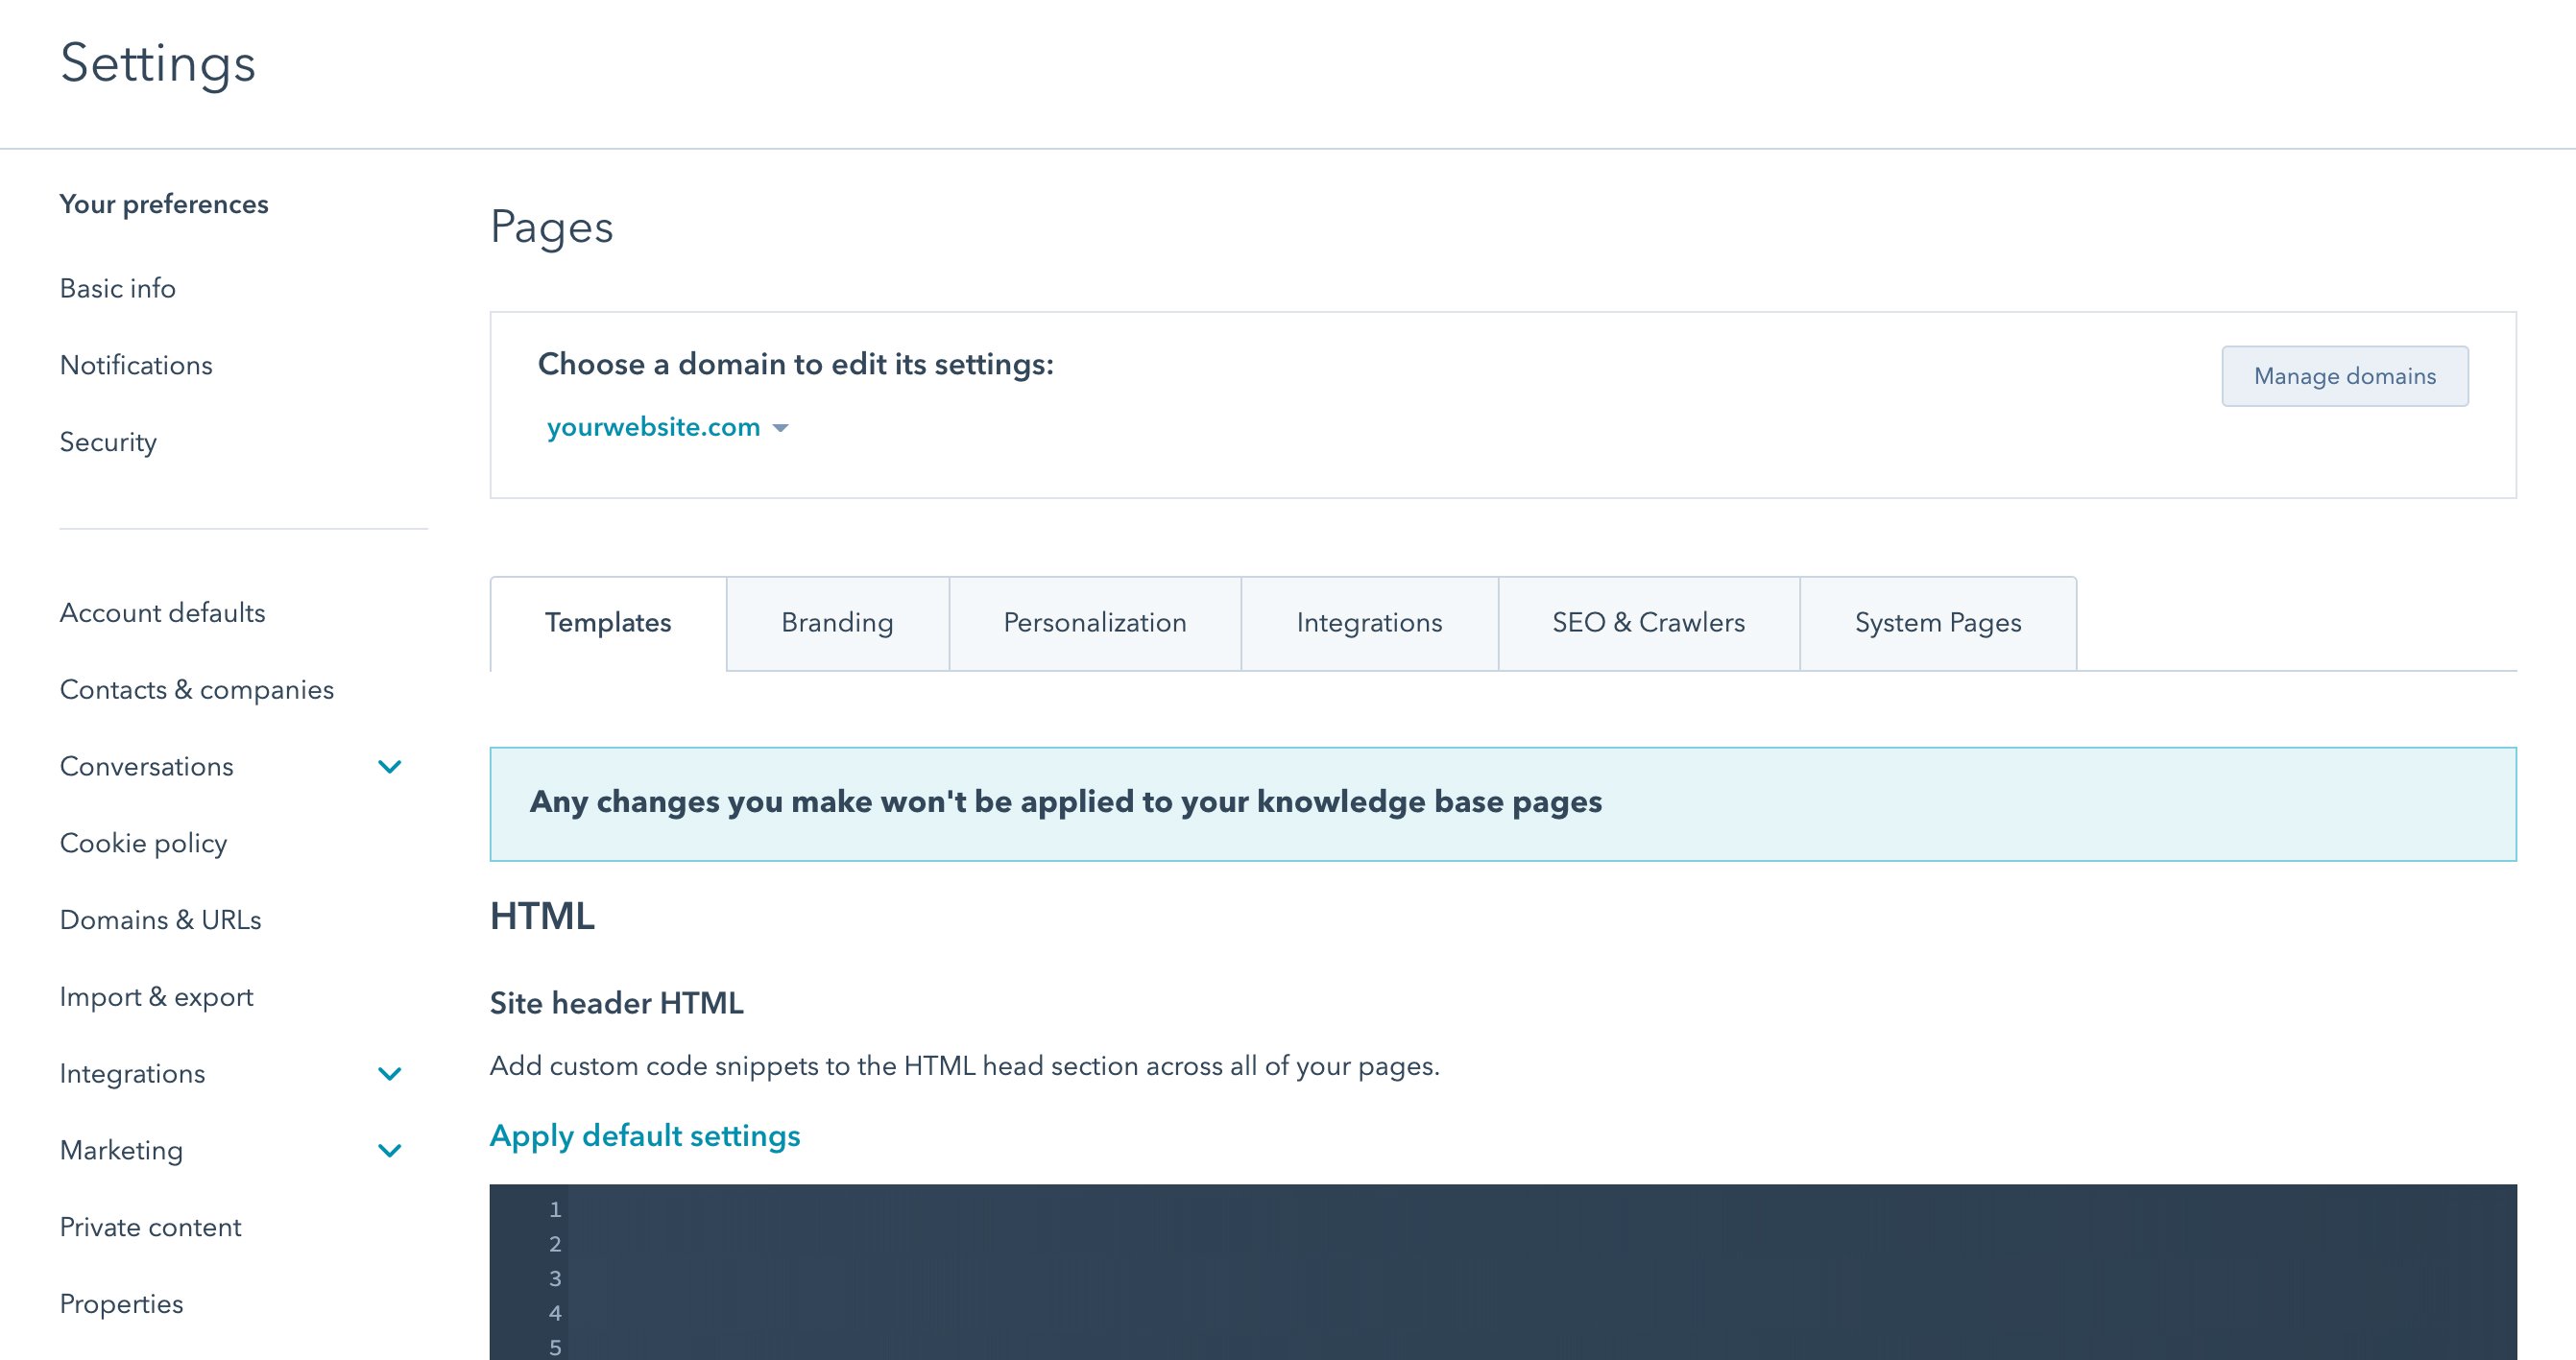
Templates Tab
Site header HTML
Any code added into the site header HTML field in Pages Settings will be included in the{{ standard_header_includes }} variable.
Site footer HTML
Any code added into the site footer HTML field in Pages Settings will be included in the{{ standard_footer_includes }} variable. Typically this is a good place for adding tracking codes and other scripts that are “non-essential” to your site functioning or looking good. That way it will not negatively impact any of your templates or pages.
jQuery
You can modify the jQuery version loading on your page via Pages Settings. You can also opt to load jQuery from your footer via this setting. Appending?hsMoveJQueryToFooter=True to your page URL will allow you to test this change and ensure it does not impact your site’s appearance negatively.
The option to disable jQuery is also located within Pages Settings.
Branding Tab
The logo image set for each domain here will automatically be used in the default “Logo” module.Favicon
Logo (alt text, dimensions, link)
Your favicon image source URL can be pulled from thesite_settings dictionary and used in your coded files:
Personalization Tab
Contact & Company defaults
These are the default values used for personalization tokens used on pages when the visitor is unknown.Integrations Tab
JS Integrations
Enable JS Integrations (like Google Analytics or AdRoll) for all domains or select domains here. If using other tracking scripts or Google Tag Manager instead of Google Analytics that code should be added to the site footer HTML.SEO & Crawlers Tab
Canonical URLs
Select your default canonicalization setting for individual pages and posts, as well as listing pages, here.Default File Hosting Domain
This controls the domain that assets from the file manager appear to be hosted at.Robots.txt
Modify your robots.txt file for each domain here.System Pages Tab
For several system pages, you can select your templates in Pages Settings. No page editor exists for these pages, only templates in the Design Manager that are created with the “System” template type. Please note*: Email preferences and subscription templates are located in Email Settings, not Pages Settings.*404 and 500 error pages
These are the pages that are returned for 404 or 500 status codes. When creating a new template, select the “Error page” template type in the Design Manager to make a template available for these system pages.Password Prompt Page
This is the page that is returned for password-protected pages when prompting a visitor to input a password. When creating a new template, select the “Password prompt page” template type in the Design Manager to make a template available for this kind of system page.Search results page and URL
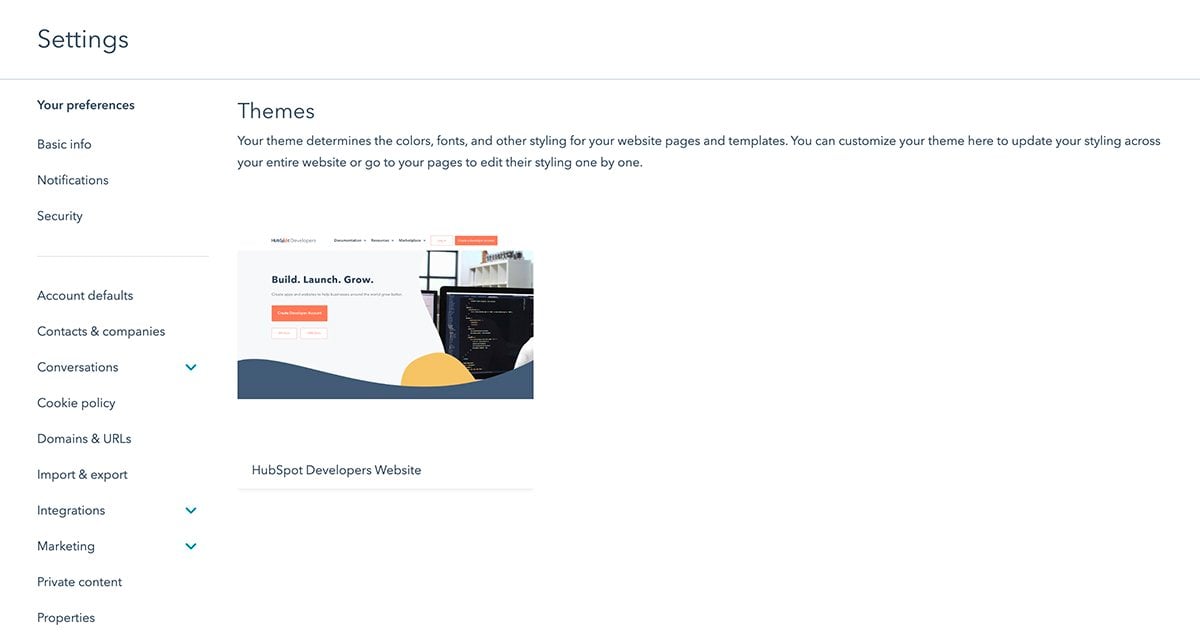
This is the page that lists search results for queries input into HubSpot’s Site Search module. HubSpot provides a set of default search modules that you can use out of the box, and you can configure your search results page URL in your HubSpot content settings. You can also customize site search using the CMS Site Search API.Themes settings
Here you can find all the themes added to your site. You can go into the themes editor by clicking on one of the themes available on your site.