Supported products
Supported products
Initial Setup
Follow the steps below to begin setting up your SSO for memberships.1. Login to your identity provider.
2. Navigate to your applications.
3. Create a new SAML application specifically for HubSpot content access.
To get the Audience URI and Sign on URL, ACS, Recipient, or Redirect values:- In your HubSpot account, click the settings icon settings in the main navigation bar.
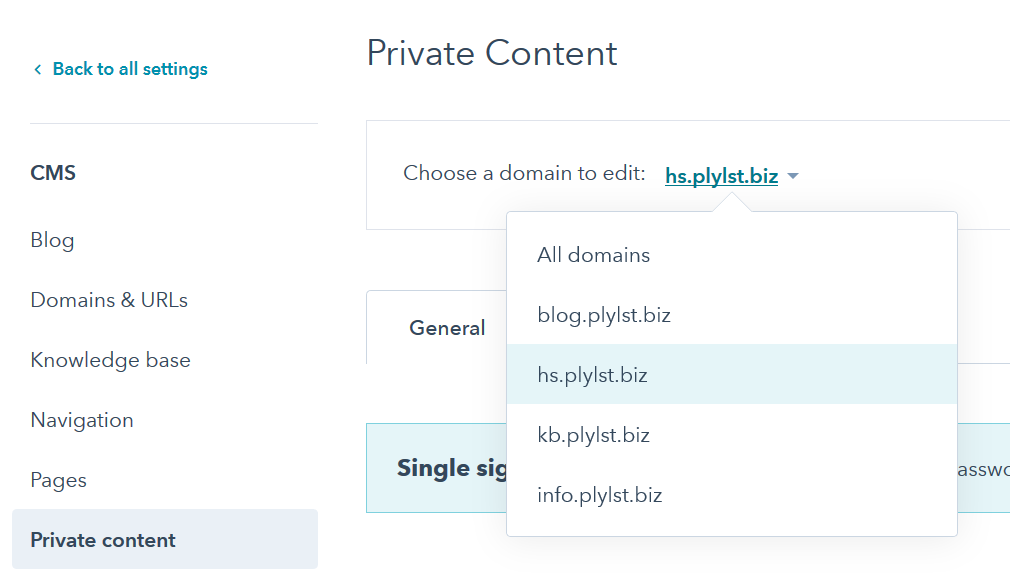
- In the left sidebar menu, select Private Content.
- Select a domain from the “choose a domain to edit” picklist to open the settings for that domain. Note* SSO must be enabled on a per-subdomain basis at this time.
- In the Single sign-on (SSO) section, click Set up.
- In the right pane, click Copy next to the values as needed. If you are using Microsoft AD FS, click the Microsoft AD FS tab to copy the values needed.
- Paste them into your identity provider account where required.
4. Copy the identifier or issuer URL, the single-sign on URL, and the certificate from your identity provider, and paste them into the corresponding fields in the SSO setup panel in HubSpot.
5. Click Verify.
Once verification is complete, a “single sign on is enabled” notification will appear at the top of the General & Templates tabs for that domain and all template and email settings options that are no longer managed through HubSpot (because they are now managed through your IaP) will be disabled.SSO Enablement for Blogs
1. Navigate to settings > CMS > Blog in the Settings UI.
2. Select a blog that is currently hosted on an SSO enabled subdomain from the “select a blog to modify” list.
3. Locate the control audience access settings at the bottom of your blog’s general tab.
Visit the control audience access option settings section for more information on these choices.SSO Enablement for Pages / Landing Pages
1. Navigate to marketing > website > website pages or landing pages.
2. Select a single page or landing page on an SSO enabled domain, or select multiple pages or landing pages on an SSO enabled domain using the checkbox option in the listing’s area, and click the “control audience access” option at the top of the table.
These options are also available in the page and landing page editor > settings tab.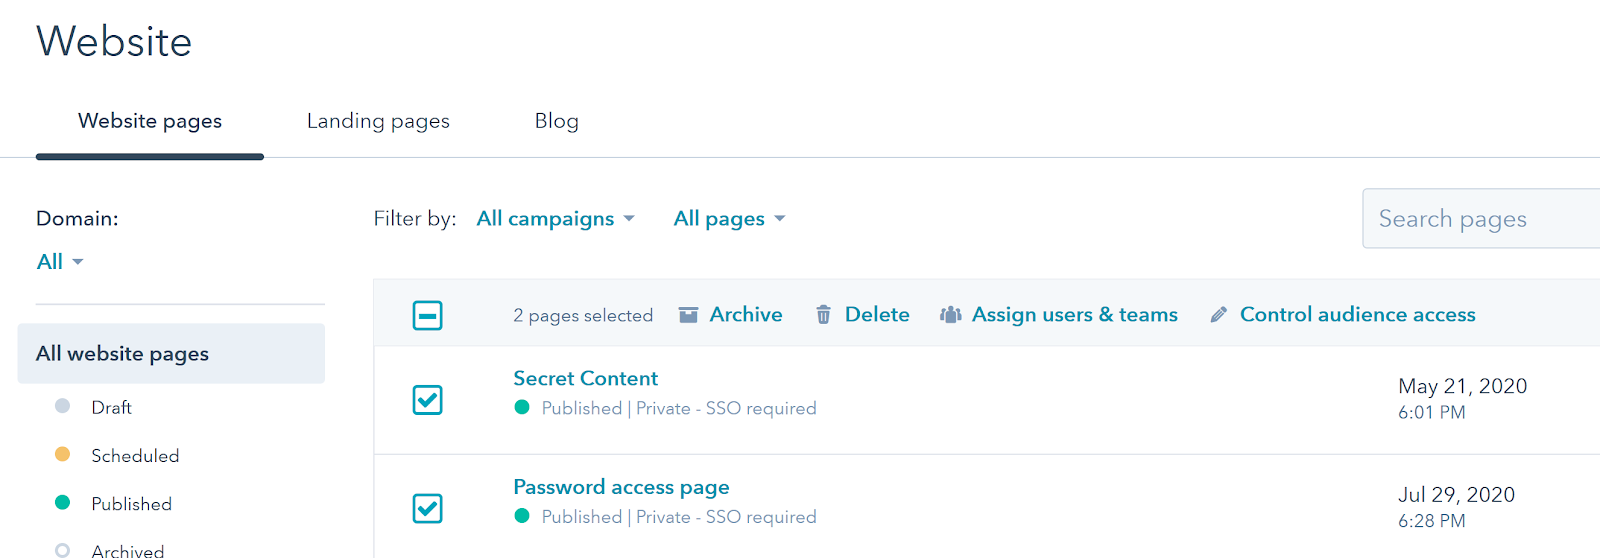
SSO Enablement for Knowledge Articles
1. Navigate to settings > knowledge base > articles
2. Select a single article on an SSO enabled domain or select multiple articles on an SSO enabled domain using the checkbox option in the listing’s area, and click the “control audience access” option at the top of the table.
Note: These options are also available in the article editor > settings tab.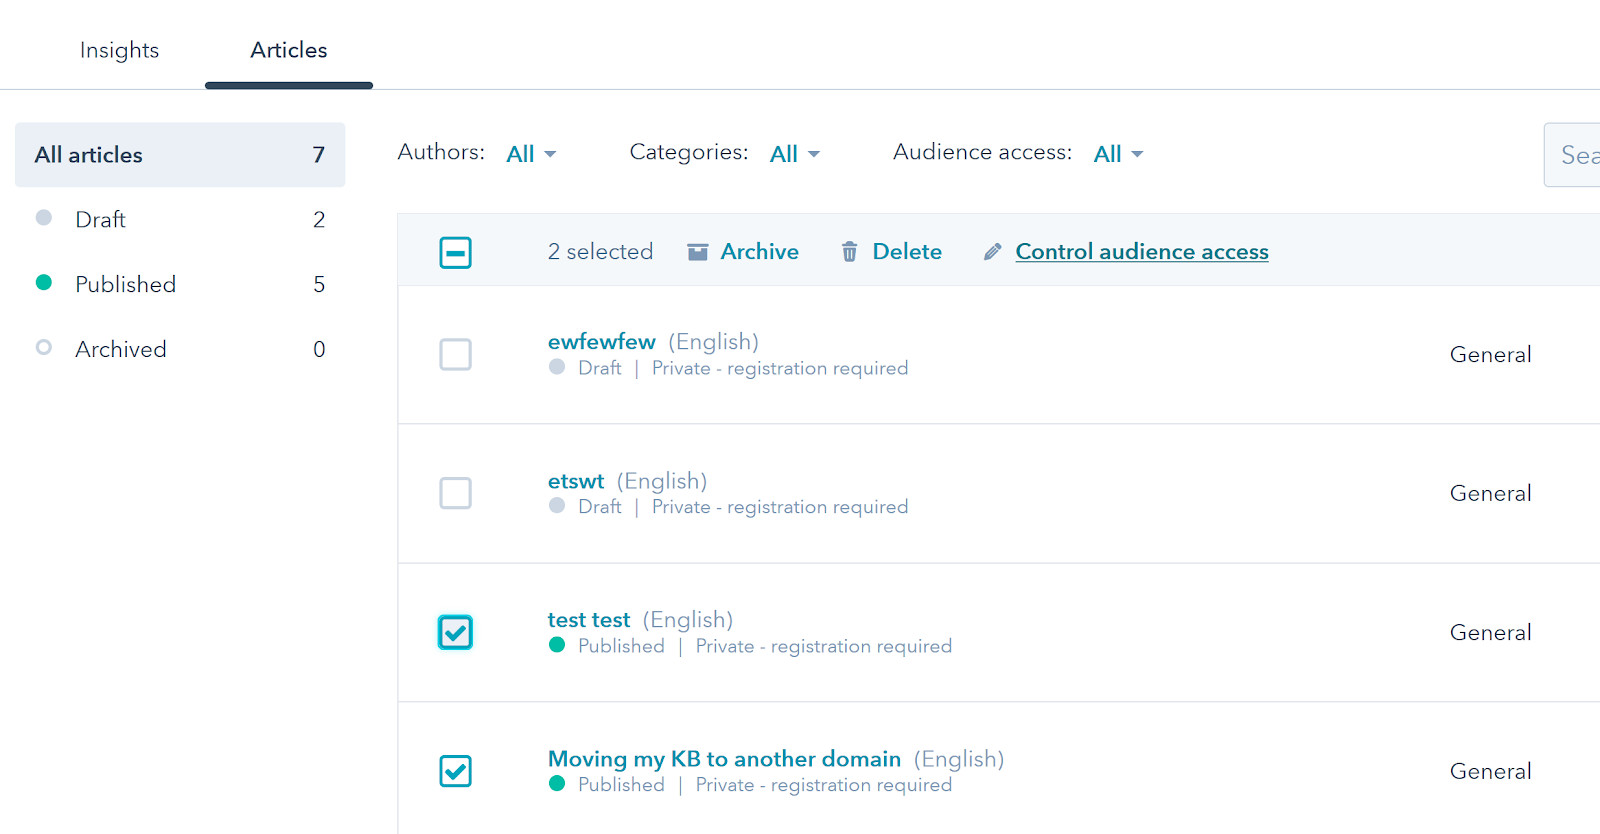
Control Audience Access Option Settings
If you would like all users in your IaP that have HubSpot as an assigned app to be able to see your private content, select the Private - Single sign on(SSO) required option. If you would like to segment users with the assigned HubSpot app in your IaP into smaller tiered groups, select the Private - Single sign on (SSO) required with list filtering option.- This option requires users to be both a member of your IaP with the assigned app AND a member of a contact list within HubSpot in order to view pages. The benefit of this option is that it allows you to further refine access if your business operates on a tiered subscription model, for example members get access to different content materials depending on their bronze, gold, or platinum subscription levels.
- Note: This is also the default option for content previously marked as “Private - registration required”. If you have content previously marked as “Private - registration required” and would like to transition fully to SSO, please verify that all contacts currently in those assigned lists are added to your IaP before switching over to unfiltered SSO management. Failure to do so will result in contacts losing access to that content.
Instructions for specific identity providers
Okta
- Log in to Okta. Make sure you are in the administrative instance of your Okta developer account.
- Click Applications in the top navigation bar.
- Click Add application.
- Click Create new app.
- Select Web as your platform and SAML 2.0 as your Sign On method then click Create.
- Fill out the General Settings screen as desired then click Next.
- On the Configure SAML screen, copy and paste the Sign on URL and Audience URI from HubSpot into Okta, then click Next and finish the app creation process.
- Navigate to the Assignments tab. Assign the new app to any users that will have access to private content, including yourself.
- Navigate to the Sign On tab. Click the View setup instructions button.
- Copy the Identity Provider Single Sign-On URL, Identity Provider Issuer and X.509 Certificate from Okta into HubSpot.
- Click Verify. You’ll be prompted to log in with your Okta account to finish the configuration and save your settings.
OneLogin
- Log in to OneLogin.
- Navigate to Applications.
- Click Add App.
- Search for SAML Test Connector (Advanced) and select the app.
- Click Save.
- Click the Configuration tab.
- Copy and paste the Audience and Recipient from HubSpot into the corresponding fields in OneLogin.
- In the upper right, click Save.
- Click the SSO tab.
- Copy the Issuer URL and SAML 2.0 Endpoint (Single Sign-on URL) into HubSpot.
- Click View Details under the X.509 Certificate then copy and paste the certificate into HubSpot.
- Click the Users tab in the top left and add yourself and any other users that should have access to private content to the OneLogin application you created.
- Click Verify. You’ll be prompted to log in with your OneLogin account to finish the configuration and save your settings.