Start a boilerplate theme project
Run
hs create website-theme my-website-theme to create a my-website-theme directory populated with files from the CMS theme boilerplate.Upload the CMS Boilerplate to your HubSpot account
Run
hs upload my-website-theme my-website-theme. This will upload the boilerplate to your account’s design manager, in a folder titled my-website-theme.Create a page
To create a page from the uploaded theme:
 You’ll then be brought to the page editor where you can edit the theme’s fields.
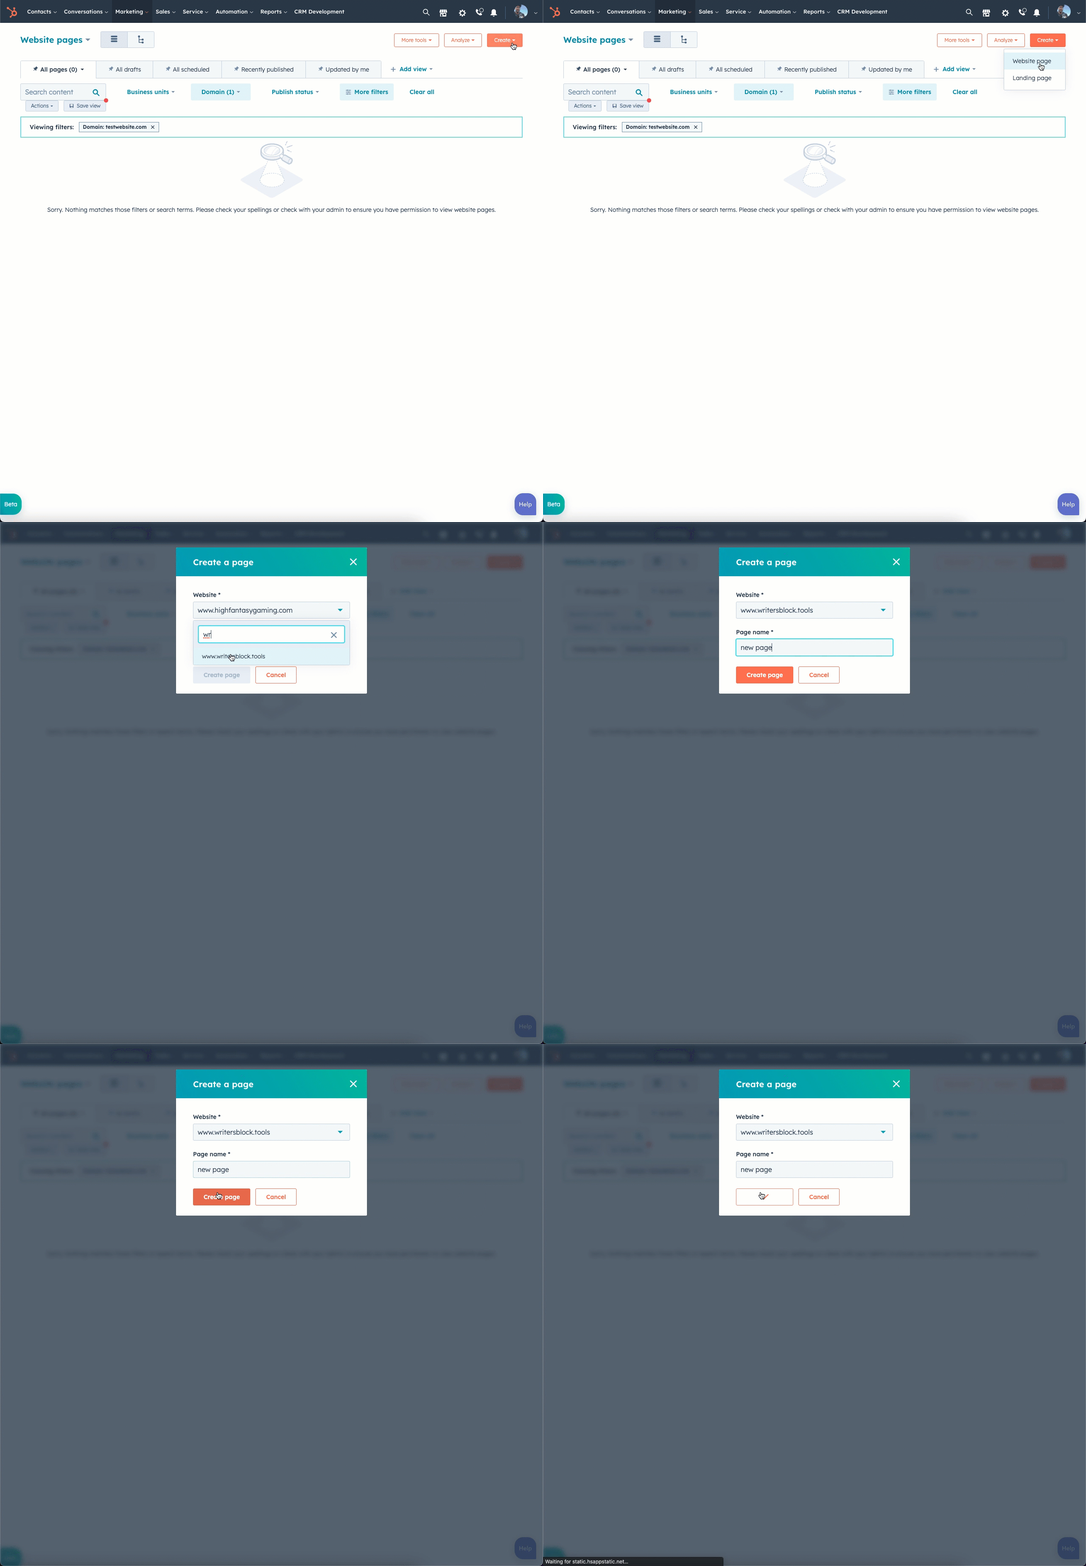
- In your HubSpot account, navigate to Marketing > Website > Website Pages.
- In the upper right, click Create, then select Website page.
- In the dialog box, select the domain that the page will be published to, then enter a page name. Then, click Create page.

- On the template selection screen, templates from your active theme will appear at the top of the page.
- If you haven’t selected an active theme, hover over CMS theme boilerplate and click Set as active theme.
- If you’ve already set an active theme, select your new theme by clicking the theme selector dropdown menu, then selecting Change theme. Then, hover over CMS theme boilerplate and click Set as active theme. On the next screen, select a template.

Edit theme fields
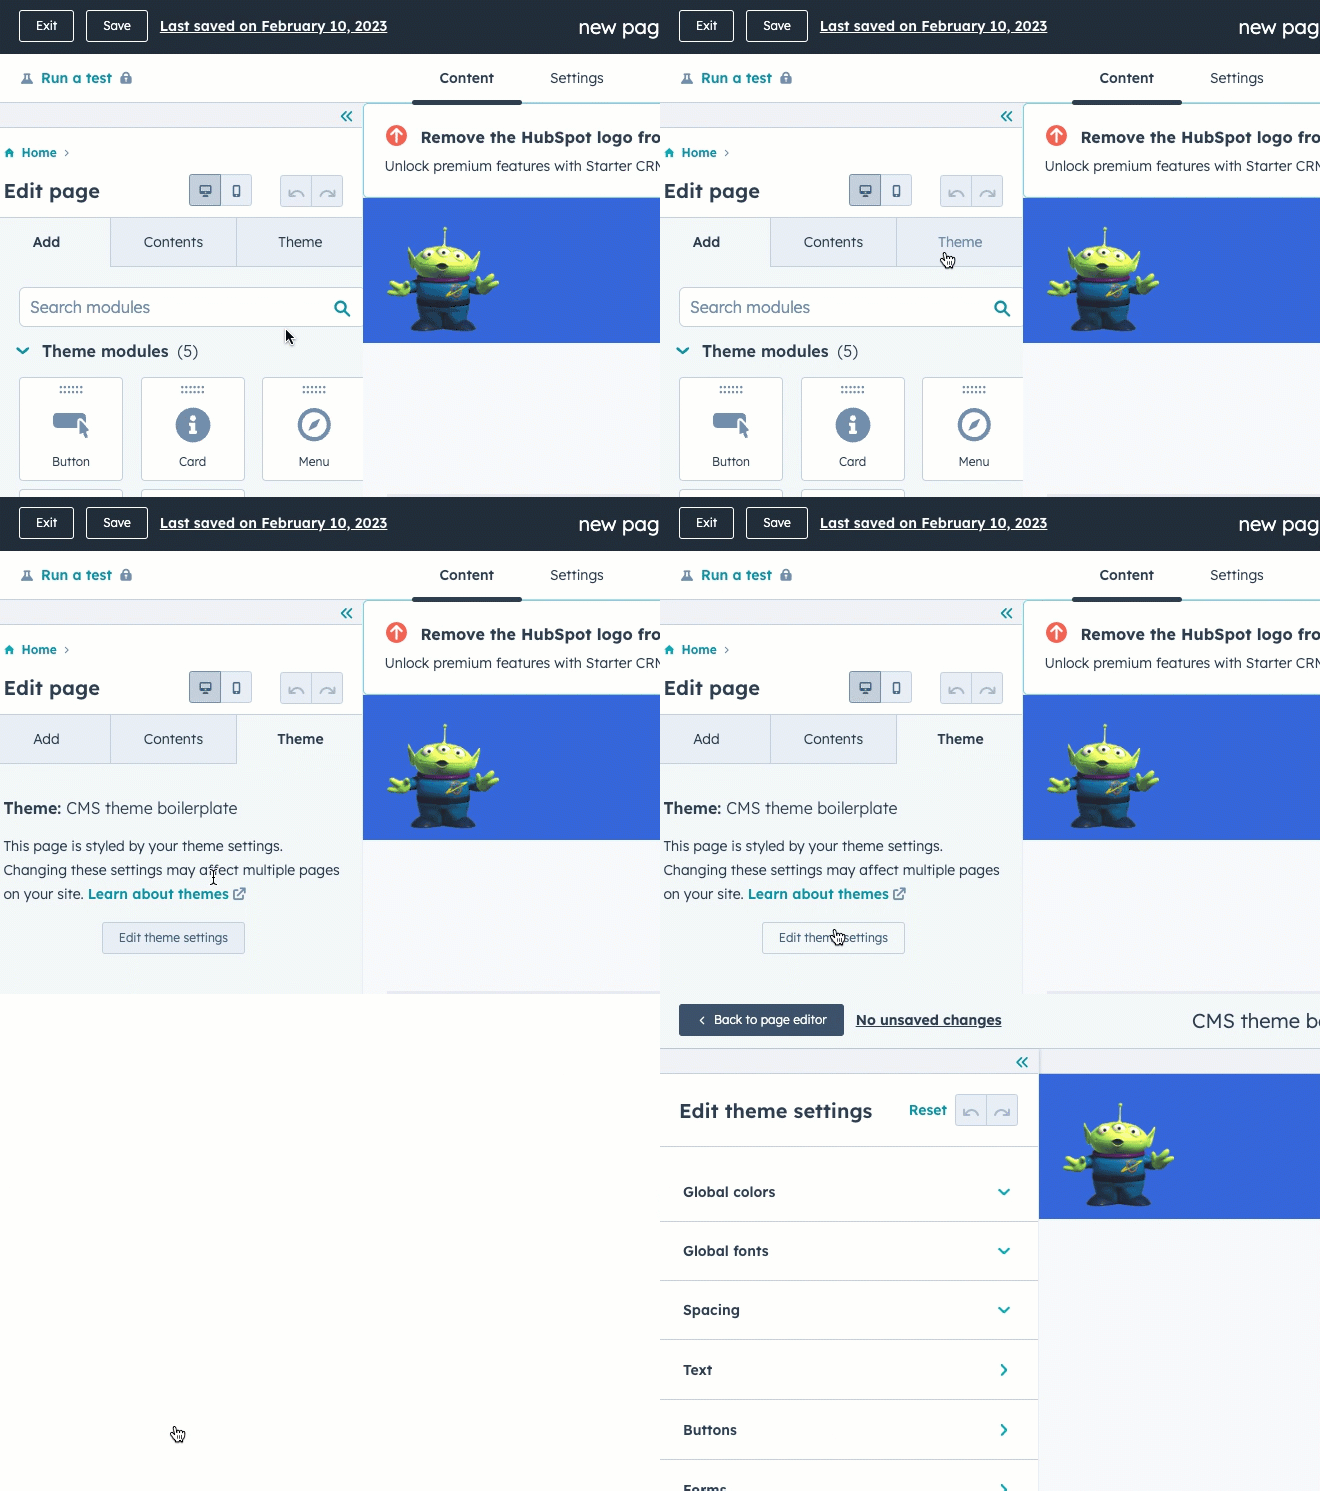
- In the left sidebar of the page editor, click the Themes tab.
- On the Themes tab, click Edit theme settings. This is where you can modify your existing theme settings. Publishing changes to theme settings will update the styles across your pages using this theme that was updated.

Prepare to make local changes
Return to your terminal, then run
hs watch my-website-theme my-website-theme. This command watches your local directory and automatically uploads the following changes to your HubSpot account on file saves.Add a theme field
Now that we’re listening for local changes, add a new theme field:
- Open
fields.jsonfile in your editor. This file controls the available fields in the theme editor sidebar. We’ll be adding a new field to specify the height of the footer. - Near the bottom of the file, locate the
footergroup. - Copy the code below and paste the JSON into the file above the first item in the children array for the footer group.
- Save
fields.json, and refresh the theme previewer in HubSpot. Your new field should display in the left-hand sidebar.
Reference the field in your CSS
-
In your code editor, open the
theme-overrides.cssfile. Then locate the css selector for.footer. We’re now going to add amin-heightto this selector.- To access a value in a theme, use the
themeobject. For example, you would use{{ theme.footer.height }}to access the height value set in our height field. - Replace the
.footerdeclaration in theme-overrides.css with the following:
- Save
theme-overrides.cssto upload it to your HubSpot account.
- To access a value in a theme, use the