{translations.description}
{products.map((product, index) =>
 {product.name} -
{product.level}
)}
{product.name} -
{product.level}
)}
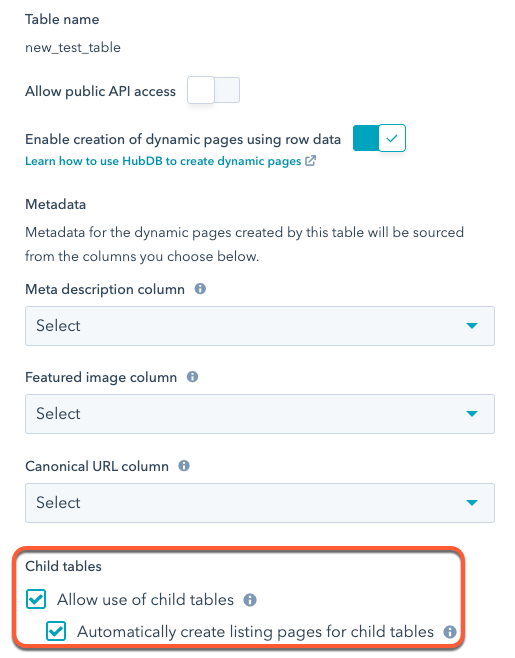 * Click **Save**.
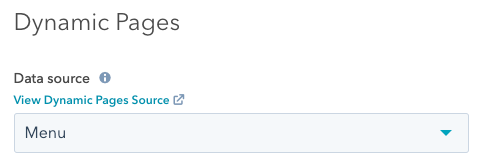
With your changes saved, you'll then see a **Child table** column added to the table. In this column, use the **dropdown menu** to select another HubDB table to pull data from.
* Click **Save**.
With your changes saved, you'll then see a **Child table** column added to the table. In this column, use the **dropdown menu** to select another HubDB table to pull data from.
 In the above example, the first row will be pulling its food data from the *Foods* child table, which contains data about available foods, as shown below.
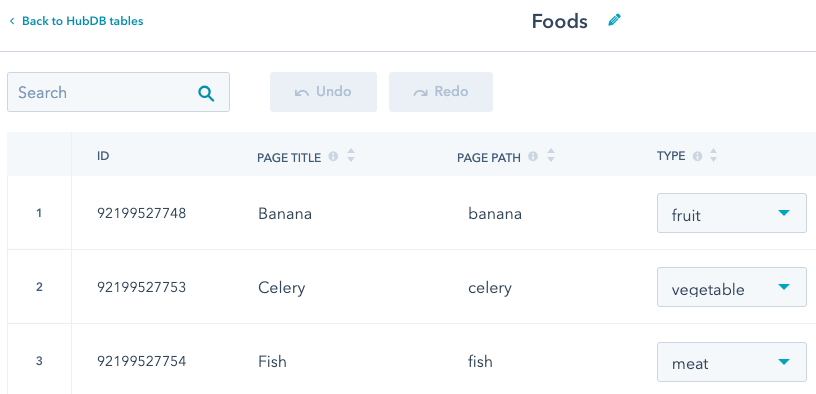 When setting multilevel dynamic pages, the page paths for each row in the child table will be `parent_path/child_path`. For example, the page path for the `banana` row will be `page_path/foods/banana`.
By turning on the **Automatically create listing pages for child tables** setting, HubSpot will also automatically create intermediate listing pages for the child table rows (`page_path/foods` and `page_path/beverages`).
If you would rather have those intermediate routes not resolve and return a 404 page, deselect the **Automatically create listing pages child child tables** checkbox in the table's settings.
When setting multilevel dynamic pages, the page paths for each row in the child table will be `parent_path/child_path`. For example, the page path for the `banana` row will be `page_path/foods/banana`.
By turning on the **Automatically create listing pages for child tables** setting, HubSpot will also automatically create intermediate listing pages for the child table rows (`page_path/foods` and `page_path/beverages`).
If you would rather have those intermediate routes not resolve and return a 404 page, deselect the **Automatically create listing pages child child tables** checkbox in the table's settings.