> ## Documentation Index
> Fetch the complete documentation index at: https://developers.hubspot.com/docs/llms.txt
> Use this file to discover all available pages before exploring further.

---
id: 89658b9d-8a4f-4205-b310-55045e010448
---

# Memberships

> Memberships is a feature that makes it possible to require visitors to have an account in order to access content.

export const SupportedProducts = ({marketing, sales, service, cms, data, commerce, marketingLevel, salesLevel, serviceLevel, cmsLevel, dataLevel, commerceLevel}) => {
  const translations = {
    description: "Requires one of the following products or higher.",
    productNames: {
      marketing: "Marketing Hub",
      sales: "Sales Hub",
      service: "Service Hub",
      cms: "Content Hub",
      data: "Data Hub",
      commerce: "Commerce Hub"
    },
    tiers: {
      free: "Free",
      starter: "Starter",
      professional: "Professional",
      enterprise: "Enterprise"
    }
  };
  const translateTier = tier => {
    if (!tier) return '';
    const lowerTier = tier.toLowerCase();
    return translations.tiers[lowerTier] || tier;
  };
  const products = [{
    name: marketing ? translations.productNames.marketing : '',
    level: translateTier(marketingLevel),
    icon: "https://mintlify-assets.b-cdn.net/Icons/marketing-bolt.svg",
    alt: "Marketing Hub"
  }, {
    name: sales ? translations.productNames.sales : '',
    level: translateTier(salesLevel),
    icon: "https://mintlify-assets.b-cdn.net/Icons/sales-star.svg",
    alt: "Sales Hub"
  }, {
    name: service ? translations.productNames.service : '',
    level: translateTier(serviceLevel),
    icon: "https://mintlify-assets.b-cdn.net/Icons/service-heart.svg",
    alt: "Service Hub"
  }, {
    name: cms ? translations.productNames.cms : '',
    level: translateTier(cmsLevel),
    icon: "https://mintlify-assets.b-cdn.net/Icons/content-play.svg",
    alt: "Content Hub"
  }, {
    name: data ? translations.productNames.data : '',
    level: translateTier(dataLevel),
    icon: "https://developers.hubspot.com/hubfs/Knowledge_Base_2023-24-25/subscription_key_icons/operations_icon.svg",
    alt: "Data Hub"
  }, {
    name: commerce ? translations.productNames.commerce : '',
    level: translateTier(commerceLevel),
    icon: "https://developers.hubspot.com/hubfs/Knowledge_Base/subscription_key_icons/commerce_icon.svg",
    alt: "Commerce Hub"
  }].filter(product => product.name && product.level);
  if (products.length === 0) return null;
  return <div>
      <div className="text-sm mb-2">{translations.description}</div>
      <div className={`grid ${products.length === 1 ? 'grid-cols-1' : 'grid-cols-2'} gap-1.5`}>
        {products.map((product, index) => <div key={index} style={{
    display: 'flex',
    alignItems: 'center'
  }}>
            <img src={product.icon} alt={product.alt} className="w-3.5 h-3.5 mr-1.5 mt-2.5 mb-2.5 flex-shrink-0 align-middle" />
            <span className="font-medium mr-1 text-sm">{product.name} -</span>
            <span className="text-sm">{product.level}</span>
          </div>)}
      </div>
    </div>;
};

<Accordion title="Supported products" defaultOpen="true" icon="cubes">
  <SupportedProducts cms={true} cmsLevel="professional" />
</Accordion>

Memberships is a feature that makes it possible to require visitors to have an account in order to access content. The account system leverages the HubSpot CRM and CRM Lists together with the ability for a visitor to create a password for their account. Marketers can easily [create pages on their sites that only contacts on specific lists in the CRM can access](https://knowledge.hubspot.com/cms-pages-editor/control-audience-access-to-pages). You can additionally restrict access to [knowledge base articles](https://knowledge.hubspot.com/cms-pages-editor/control-audience-access-to-pages#set-up-membership-registration-for-your-knowledge-base) and [blogs](https://knowledge.hubspot.com/cms-pages-editor/control-audience-access-to-pages#set-up-membership-registration-for-your-blog) using memberships.

## Membership user flow

When contacts are granted access to content, which can occur when they join lists or though manual assignment, they are sent an email to register for your website, where they set a password to access content they have permission to access.

Imagine a gym, which wishes to allow visitors to register for classes and view the classes they have registered for. When a visitor registers for a class, the form submission creates a contact in the HubSpot CRM and that contact is added to a list based on the form submission, which is used to grant access to a "My Events" page.

<Frame>
  <img src="https://cdn2.hubspot.net/hubfs/53/signup.gif" alt="An example gym registration." />
</Frame>

The visitor receives a membership registration email that allows them to create a password for their membership account.

<Frame>
  <img src="https://f.hubspotusercontent00.net/hubfs/53/register%20account.png" alt="Registration form" />
</Frame>

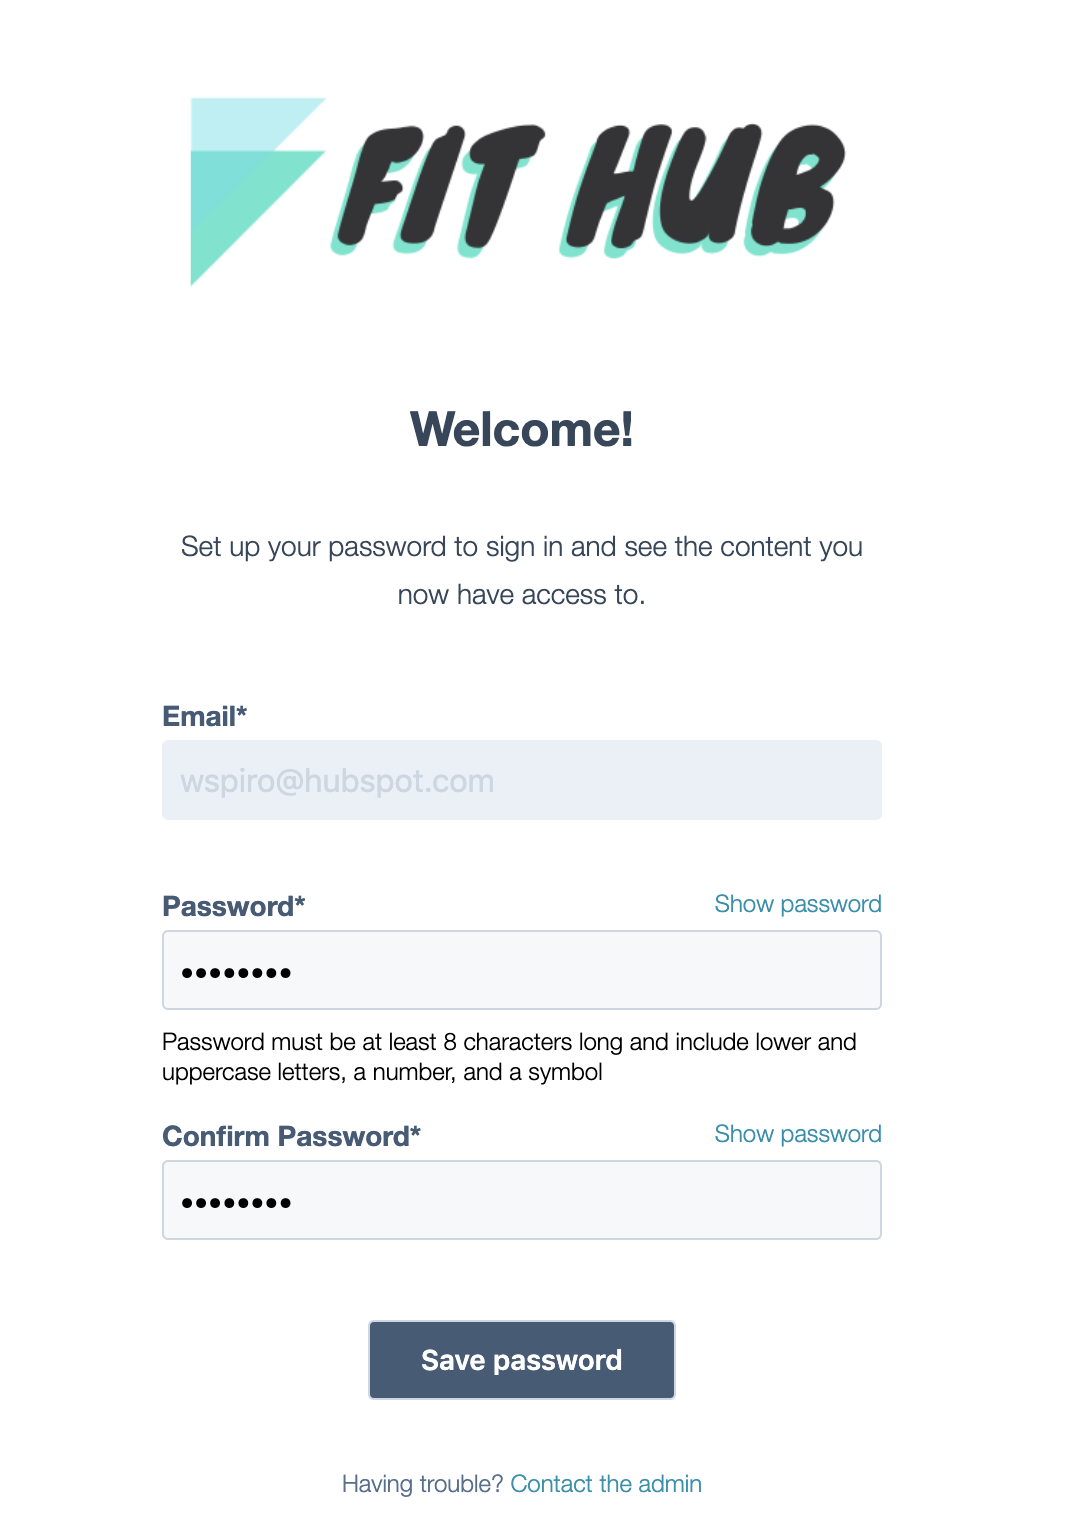
Now, when the visitors log in to their account, the user can log in to the private "My Events" page using the email and password they set. Because the visitor is logged in, the developer who created the private content can render data about the logged in contact using data from the CRM.

<Frame>
  <img src="https://cdn2.hubspot.net/hubfs/53/my_events.gif" alt="A visitor uses their account to log in and see classes they registered for." />
</Frame>

## Membership HubL variables

For some businesses, it may make sense to show different content based on if a user is signed in or not. There are HubL variables which developers can use to check to see if a contact is currently logged in on a website.

The HubL variable [`request_contact.is_logged_in`](/cms/reference/hubl/variables#website-pages-variables) indicates if the current visitor is signed in to the website through memberships. It can be used within an `if` statement to conditionally render certain content, allowing you to individually cater your visitor's experience.

```hubl theme={null}
{% if request_contact.is_logged_in %}
    You're signed in!
{% else %}
    <a href="https://developers.hubspot.com/docs/_hcms/mem/login">Log In</a>
{% endif %}
```

If you want to display different content on the same page based on list membership, you can check the signed-in contacts list memberships using [`request_contact.list_memberships`](/cms/reference/hubl/variables#website-pages-variables) HubL variable, which returns a dict of list IDs the logged in contact is a member of.

<Info>
  To personalize content without using memberships, you can use the [contact variable](/cms/reference/hubl/variables#general-variables) if a visitor has submitted a form on your website.
</Info>

## CRM object HubL functions

In addition to general content displayed conditionally on a page, it’s possible to pull information about objects within your HubSpot account such as contacts, companies, deals, and products using the functions:

* [CRM Associations](/cms/reference/hubl/functions#crm-associations)
* [CRM Object](/cms/reference/hubl/functions#crm-object)
* [CRM Objects](/cms/reference/hubl/functions#crm-objects)

For security purposes, only product and marketing event objects can be retrieved on a publicly accessible page; to pull information about other object types, a page must be behind membership.

```hubl theme={null}
{% if request_contact.is_logged_in %}
  {% set membership_contact = crm_object('contact', request.contact.contact_vid, 'firstname,lastname') %}
  Welcome back, {{ membership_contact.firstname }} {{ membership_contact.lastname }}
{% else %}
    <a href="https://developers.hubspot.com/docs/_hcms/mem/login">Log In</a>
{% endif %}
```

## Private blog posts with self-registration

When you [enable self-registration for private blog content](https://knowledge.hubspot.com/blog/use-self-registration-for-private-blog-content), you can limit access to specific blog posts so that visitors must register to view them. On the blog listing page, posts enabled for self-registration will display with a lock icon when using the default blog listing module.

<Frame>
  <img src="https://www.hubspot.com/hubfs/Knowledge_Base_2023_2024/locked-post-listing-page.png" alt="locked-post-listing-page" />
</Frame>

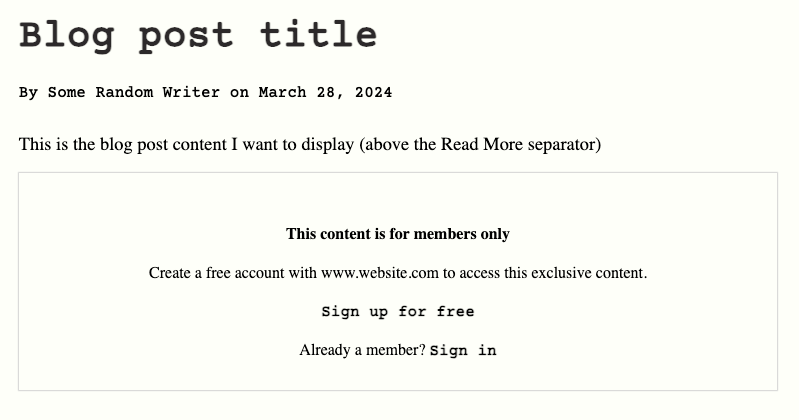
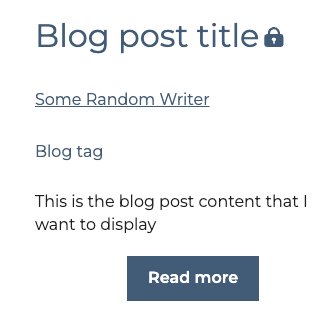
In the blog post, the content above the Read More separator will display, then prompt the user to log in to keep reading. Visitors can then sign up to read the rest of the blog post.

<Frame>
  <img src="https://www.hubspot.com/hubfs/Knowledge_Base_2023_2024/blog-post-locked.png" alt="blog-post-locked" />
</Frame>

### Customization with HubL

If you're using HubSpot's default blog listing module, the lock icon styling is handled for you. However, if you want to build your own solution with HubL, you can use the [flag\_content\_for\_access\_check](/cms/reference/hubl/functions#flag-content-for-access-check) function to check whether or not a blog post is visible to the currently logged in visitor. If the user is not currently logged in, the function will check whether the blog post is private.

When called, the function is replaced with the following attribute, which shows whether the visitor has access to the content:

`hs-member-content-access=<true/false>`

When `true`, the content is private and cannot be viewed by a viewer who is not logged in.

For example, you could update your blog listing template with the following. Note that the `lock-icon` class can be any value, as long as you use the same value in your CSS to style the locked post indicator.

```hubl theme={null}
{% for content in contents %}
 <article {{ flag_content_for_access_check(content.id) }}>
  <div class="image-container">...</div>
  <div class="content-container">
   <h3>Lorem Heading<img class="lock-icon" src="path/to/lock-icon.png"/></h3>
    ...
   </div>
 </article>
{% endfor %}
```

This would result in the following HTML output after the script runs to and finds that a blog post is private:

```html theme={null}
<!-- HTML output after script runs -->
<article hs-member-content-access="true">
  <div class="image-container">...</div>
  <div class="content-container">
    <h3>Lorem Heading<img class="lock-icon" src="path/to/lock-icon.png" /></h3>
    ...
  </div>
</article>
```

You could then handle the locked/unlocked styling through CSS using the `hs-member-content-access` attribute. Note that the `lock-icon` class is just an example; you can use any value, as long as it matches the HTML class shown in the first code example above.

```css theme={null}
article[hs-member-content-access] .lock-icon {
  display: none;
}

article[hs-member-content-access='true'] .lock-icon {
  display: inline-block;
}
```

### Customization with JavaScript

Behind the scenes, the `flag_content_for_access_check()` function is calling an API to check whether the current visitor has access to the content based on the visitor cookies that are passed along with the request. If you'd like to create your own JavaScript solution, you can call this API directly.

To check whether or not a post is locked to the current visitor, you can make a `POST` request to `https://your-domain.com/_hcms/content-access/get-gated-content-ids-for-member`. The request body should include an object with a `contentIds` array containing the IDs of the blog posts that you want to check member access for.

For example, if you wanted to check whether blog posts with the IDs of `10`, `11`, and `12` are locked to the visitor, your request body would be:

```json theme={null}
// Example request body
{
  "contentIds": [10, 11, 12]
}
```

The response will contain the IDs of the blog posts that are locked to the user that is currently viewing the page:

```json theme={null}
// Example response
{
  "gatedContentIds": [10]
}
```

See below for a full example of a custom JavaScript implementation.

```js theme={null}
// Custom JS example
const hsFlaggedContentIds = <Array of content ID's> // an array of target id's to test against
const gatedAttributeName = 'hs-member-content-access';
const customEventName = "hsAccessCheckFinished"

async function getGatedContentIds(idsToCheck) {
  const options = {
    method: 'POST',
    body: JSON.stringify({ contentIds: idsToCheck }),
    headers: {
      'Content-Type': 'application/json',
    },
  };
  const fetchGatedIds = await fetch(
    '/_hcms/content-access/get-gated-content-ids-for-member',
    options
  );
  const response = await fetchGatedIds.json();

  return response['gatedContentIds'];
}

function setGatedElementAttribute(element, gatedContentIds) {
  const contentId = parseInt(element.getAttribute(gatedAttributeName));

  if (contentId && gatedContentIds.includes(contentId)) {
    // content is gated
    element.setAttribute(gatedAttributeName, true);
  } else {
    // content is not gated
    element.setAttribute(gatedAttributeName, false);
  }
  return element
}

getGatedContentIds(hsFlaggedContentIds).then((gatedContentIds) => {
  const flaggedElementsToCheckIfGated = document.querySelectorAll(
    '[' + gatedAttributeName + ']'
  );

  // split the original array into 2 arrays and wrap in an object
  // that will be passed into the custom event. Event handlers will have
  // access to both gated and ungated arrays.
  return [...flaggedElementsToCheckIfGated].reduce((acc, item) => {
    let processedElement = setGatedElementAttribute(item, gatedContentIds);

    if (processedElement.getAttribute(gatedAttributeName) === "true" ) {
      acc.gatedContentElements.push(item);
    } else {
      acc.ungatedContentElements.push(item);
    }

    return acc
  }, { gatedContentElements: [], ungatedContentElements: [] });

}).then(processedGatedElements => {
  document.dispatchEvent(
    new CustomEvent( customEventName, {
      detail: { gatedContentElements: processedGatedElements }
    })
  );
}).catch(err => {
  console.error(err)
});
```

## Register, login, and log out

When a contact is granted access to any content on your website through memberships, they will receive an email to register for your website where they can set a password to access content they have permission to view. In the event you need to resend a contact a link to register, you can [resend their registration email](https://knowledge.hubspot.com/cms-pages-editor/control-audience-access-to-pages#resend-the-registration-email-to-a-specific-contact).

The URL paths for user sign-in/out are consistent for all HubSpot CMS sites with the membership functionality.

* `<your domain>/_hcms/mem/login`
* `<your domain>/_hcms/mem/logout`

When a visitor logs in to their website, a cookie is sent to their browser, allowing them to browse through your website and access pages they have access to through memberships without having to log in again. If a visitor logs out, or has never logged in to your website in their browser, they will be prompted to log in before being able to view the content.

## Membership templates

Sites with memberships have a few special pages that are needed to facilitate the memberships functionality. These are dictated by special system templates. These system templates are editable, allowing you to control the look and feel of the various membership steps. To set which templates you are using, go to **Settings >** [**Private Content**](https://app.hubspot.com/l/settings/content-membership/all-domains/general) and choose the ["Templates" tab](https://app.hubspot.com/l/settings/content-membership/all-domains/templates). To create a template to set in these settings, go to **Marketing > Files and Templates > Design Tools**, then in the top left click **File > New File > HTML & HUBL** and select the appropriate Template Type from the dropdown.

For a comprehensive list of the membership templates, refer to the [membership section of the templates documentation](/cms/start-building/building-blocks/templates/overview#membership).

<Info>
  Only [HTML + HubL templates](/cms/start-building/building-blocks/templates/html-hubl-templates) can be membership templates.
</Info>

## Membership audit logging

In [Settings > Private Content](https://app.hubspot.com/l/settings/content-membership/all-domains/general), you can view an audit log of what visitors have been interacting with content behind memberships. This allows you to see which visitors are viewing private content.

<Frame>
  <img src="https://cdn2.hubspot.net/hubfs/53/Screen%20Shot%202020-02-22%20at%2012.24.54%20PM.png" alt="Audit log of private content viewership" />
</Frame>

## SSO for Memberships

You can also manage all of your businesses access permission and authentication needs in a single system with [Single Sign-on (SSO) for Memberships.](/cms/start-building/features/memberships/sso)

### Social logins

You can provide users in your list a way to sign in using Google or Facebook instead of entering their email address and password. The social login provider sends the email address associated with the logged in social account. That email address is then used to validate if that contact is in a contact list with access to the content. This feature does not require you to have configured SSO settings.

You need to have a page set to "Private registration required" with a contact list. Additionally your login template needs to have the `membership_social_logins` module.

[Add social login to your membership pages](/cms/start-building/features/memberships/social)

## Membership related articles and resources

* [HubSpot Essentials for Developers: Getting Started with Memberships](https://developers.hubspot.com/blog/essentials-for-getting-started-with-memberships)
* [Creating menus that adapt to whether the user is logged in or not](https://developers.hubspot.com/blog/creating-a-header-nav-that-adapts-to-if-the-contact-is-logged-in)
