If you have an existing project with CMS assets that you built using versionDocumentation Index
Fetch the complete documentation index at: https://developers.hubspot.com/docs/llms.txt
Use this file to discover all available pages before exploring further.
2023.2 or 2025.1, you can migrate it to the latest version (2025.2) using the CLI. Being on the latest version of the developer platform will allow you to package the latest app features with your CMS assets if needed.
The method for migrating will depend on whether your project includes serverless functions:
- If your project doesn’t include serverless functions, you can migrate using the
hs project migratecommand. - If your project includes one or more serverless functions, you’ll need to manually migrate the project, as the
hs project migratecommand doesn’t currently support serverless functions.
Migrate without serverless functions
Follow the steps below to migrate an existing project built on version2023.2 or 2025.1 to the latest version (2025.2). Migration for projects that don’t contain a serverless function can be done through the hs project migrate command, which will update the project and its component files to use the latest schemas and configuration details.
Before starting, it’s important to note that:
- This command will permanently upgrade your project to platform version
2025.2, and this action cannot be undone. - The command will create an archived copy of your original theme files to ensure you have a backup.
- The command will guide you through the process, and request your input when needed for required fields.
Upload your latest code to HubSpot
Ensure your latest changes are included in the migration by running
hs project upload in your local project directory. If auto-deploy is turned off for the project, run hs project deploy.Run the migrate command
With your latest changes in HubSpot:
- Run
hs project migratein the local project directory. - The CLI will first check for eligible project components, then prompt you to proceed with the migration.
- The migration script will run, and you’ll see your local files updating in real-time. Once completed, the terminal will display a message confirming that the migration was successful.
Review your migrated files
Before uploading your updated files to HubSpot, review your project to confirm that the correct updates have been made.
- In
hsproject.json, theplatformVersionshould be2025.2. - The
srcdirectory should now contain a new*-hsmeta.jsonfile. The first part of the file name will match the directory containing your theme. Learn more about this file in the project schema reference documentation. - At the root of your project, you should find a new directory named
archive, which contains a backup of your original theme files. You may want to move it elsewhere for safekeeping.
Upload to HubSpot
After reviewing your migrated files, run 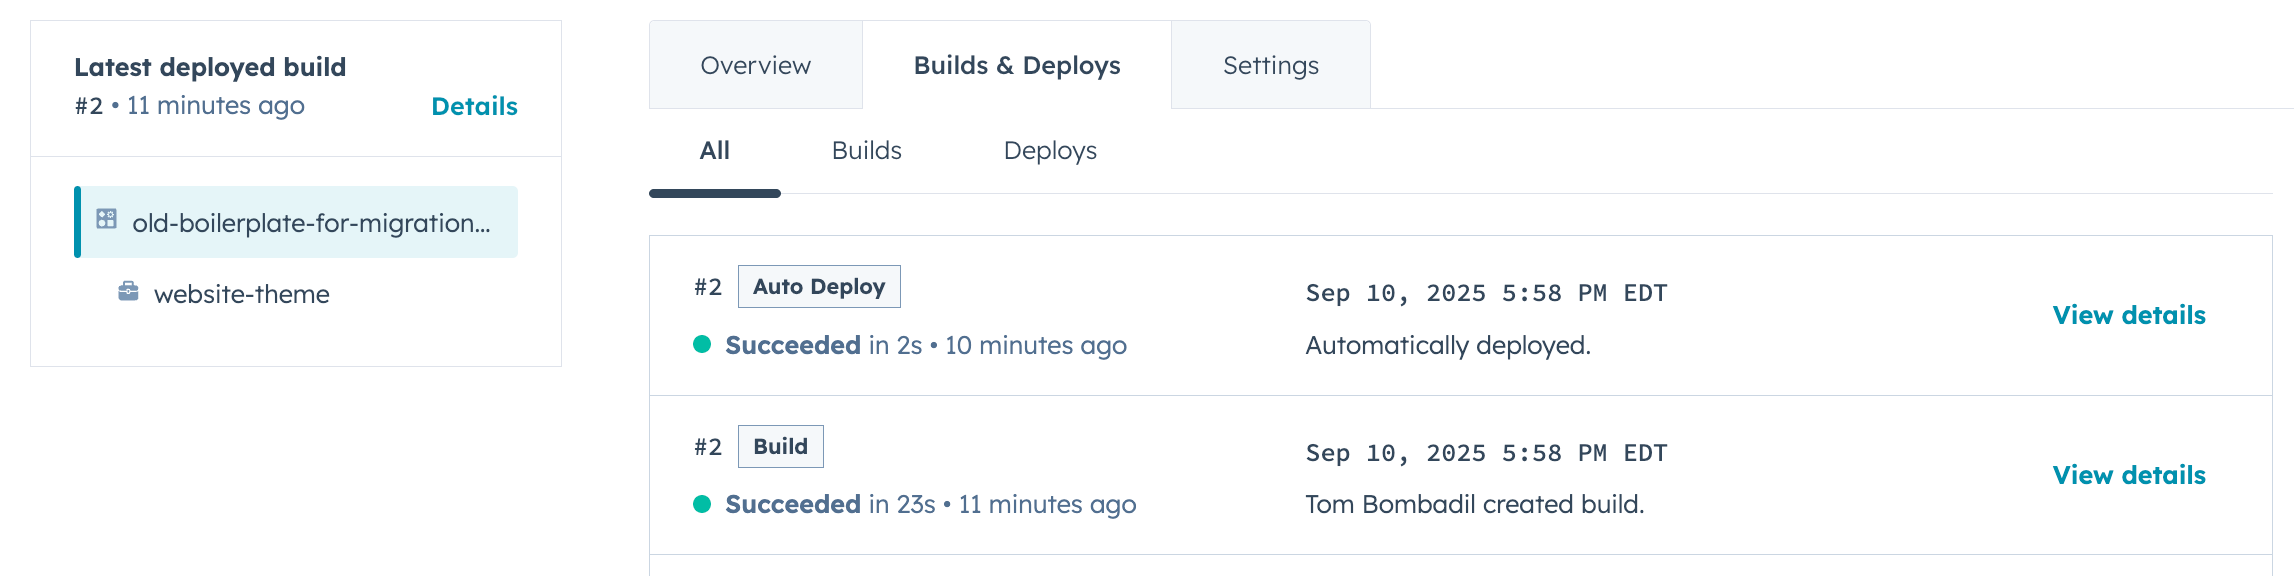
hs project upload to upload these changes to your account. If auto-deploy is turned off for the project, run hs project deploy after the upload completes.To view your updated project in HubSpot, run hs project open. A browser tab will open to the project’s home page, where you can view recent build and deploy logs, and review additional details for your project.Migrate with serverless functions
If your project includes serverless functions, the migration process will be more manual, as thehs project migrate command doesn’t currently support serverless functions.
Update hsproject.json
In your
hsproject.json file, update the platformVersion number to 2025.2.hsproject.json
Update project structure
Platform version
2025.2 introduced an additional directory layer for CMS theme development, along with an additional configuration file in that directory.To match the new required project structure:- Add a
themedirectory insrc/, then move your theme directory into it.
- Within the new
theme/directory, create a*-hsmeta.jsonconfiguration file, which configures the project’s theme component (not the theme itself). You can give this file any name, but it must end with-hsmeta.json. Copy the code below into the new file, then modify it as needed.
| Field | Type | Description |
|---|---|---|
uid | String | The unique identifier for the project’s theme component. This is separate from your theme’s display label, which is still configured in the theme.json file. |
type | String | The type of component, which must be theme for CMS themes. |
themePath | String | The relative path of the directory that contains the theme.json file (i.e., the name of the theme directory inside src/theme/). |
Add your serverless function
To migrate your serverless functions, you’ll need to update the app and serverless function schemas, and rename the functions directory.
- In the
src/app/folder, rename theapp.jsonfile toapp-hsmeta.json. Then, update the file contents to match the new schema. The code block below includes tabs to compare the new schema to the old.
- New schema
- Old schema
- Next, rename the
app.functionsdirectory tofunctions.
- Lastly, similar to the app schema step above, rename the
serverless.jsonfile toserverless-hsmeta.json. Then update its contents to match the new schema format, shown below.
- New schema
- Old schema
Upload your project
With your project updates in place, upload your changes to your account by running 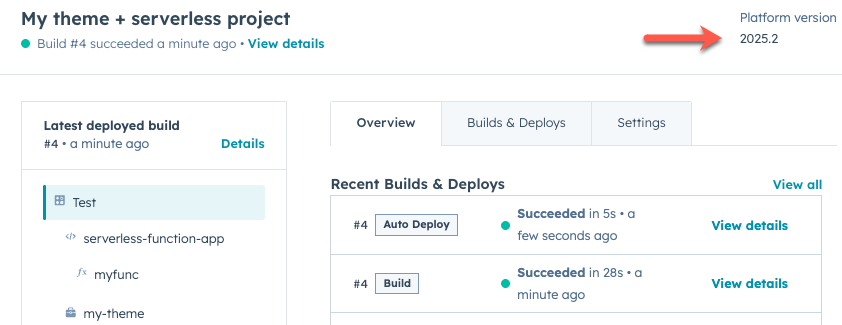
hs project upload. If you have auto-deploy turned off for the project, you’ll need to run hs project deploy to then deploy it.After the upload, run hs project open to open the project in HubSpot. In the top right, you’ll see the version number now shows 2025.2.