Project setup
To build and deploy your theme on the latest version of the developer platform, you’ll need to create a project to contain your theme and its assets. After creating the project, you’ll then need to modify your theme directories and files to be compatible with the CMS React project structure requirements. Before starting the migration, your theme structure will resemble the one shown below.Create an empty project
- In the terminal, navigate to the directory where you’ll be storing your project using the
cdcommand.
- Run
hs project createto create a new project.
- Follow the terminal prompts to create your project. For the template, select Create an empty project (no template).
Add a theme component
The
src/ directory in the project is what contains the project’s various components, whether an app, theme, or CMS React module.- Create a new
themedirectory insrc.
- In the
theme/directory, create atheme-hsmeta.jsonfile with the following content:
| Field | Type | Description |
|---|---|---|
uid | String | An internal unique identifier for the theme. Must be globally unique within the project. Can be any string up to 64 characters. Characters can be uppercase or lowercase, and can include numbers, underscores (_), dashes (-), and periods (.). |
type | String | The type of component. Must be theme. |
themePath | String | The path of the directory containing the theme.json file and theme assets. |
- In addition to the
-hsmeta.jsonfile, create a new directory that you’ll be copy/pasting your original theme folder into. You can name this folder anything you’d like, but it will need to match the name set in thethemePathfield of-hsmeta.json.
Convert your theme files
With the skeleton of your project set up, you can now copy/paste your existing theme files into the project, then modify the theme structure to fit the CMS React requirements.Add your theme files
Copy the contents of your theme folder into the
src/theme/my-migrated-theme/ directory. It’s recommended to copy/paste rather than move the files so that you have your original as a backup. This should result in a structure similar to the following.Rename HubL files and folders
To make your theme compatible with the latest version of the developer platform, you’ll need to make the following updates to your files and folders:Because you’re renaming these files, you’ll also need to update any references in your code to match the new extensions. For example, if one of the theme’s stylesheets includes another, you would need to update the path to use
- Classic HubL (i.e., non-React) modules must be in a
hubl-modulesdirectory. - HubL module files and templates (including partials) must be renamed to include
.hublin the file extension, except for.jsonfiles.module.htmlbecomesmodule.hubl.htmlmodule.cssbecomesmodule.hubl.cssmodule.jsbecomesmodule.hubl.jstemplate.htmlbecomestemplate.hubl.htmlpartial.htmlbecomespartial.hubl.html
hubl.css:Add a package.json file
In the directory that contains your With the file added, install the dependencies by navigating into the directory via the terminal, then running
theme.json file, add a package.json file to include the required dependencies: @hubspot/cms-components and @hubspot/cms-dev-server. You can use the example code below to get started:npm install.Deploy your project to HubSpot
With these changes in place, you can upload the theme to your account by running
hs project upload. This command will build and deploy both your HubL and React assets, so you’ll no longer need to use hs upload.If you would like to watch for changes (i.e., upload on save), you can use the project-specific watch command: hs project watch. However, this is less necessary when working with CMS React because you can run the local development server to view your local changes in real-time without deploying.Running local development
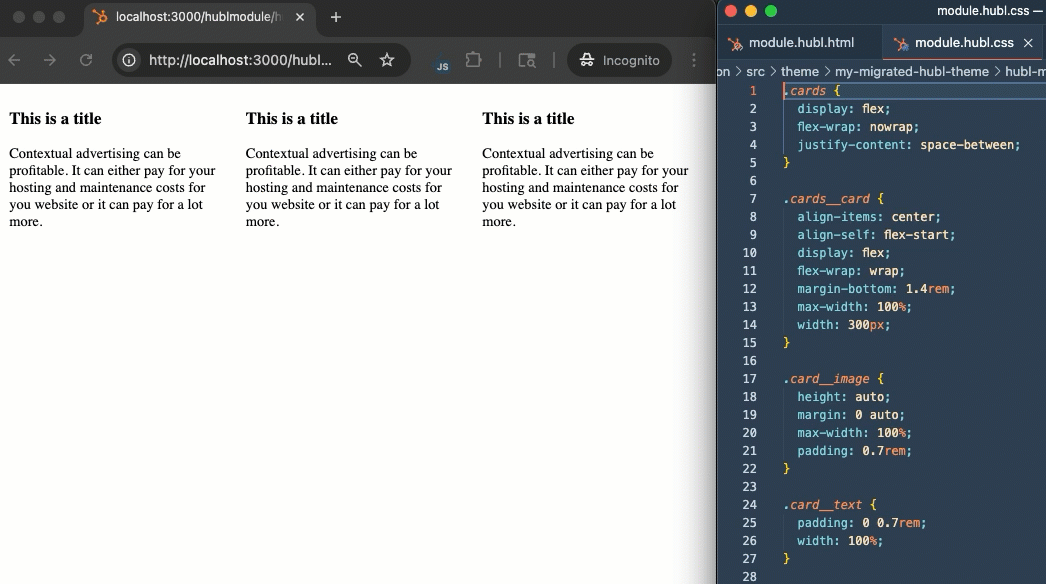
With your theme recreated on the developer platform, you can preview your theme assets (modules and templates) locally using the CMS local development server. To start the local development server:- In your terminal, ensure you’re in the directory that contains your
theme.jsonfile. - Run
npm run start. - Open http://localhost:3000 in your browser to view the local development server dashboard.
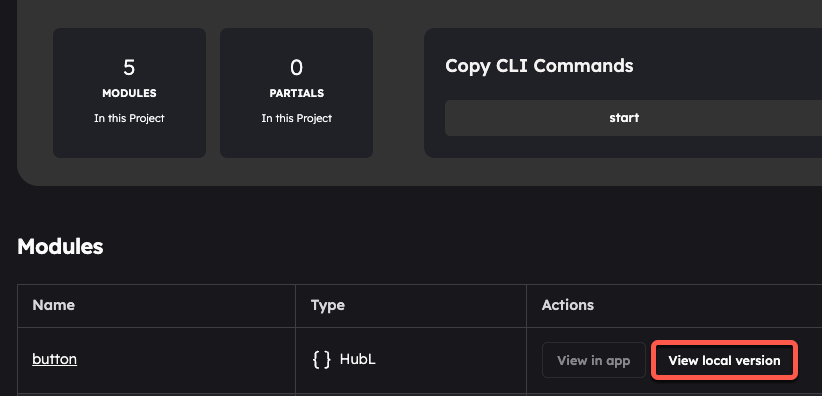
- To view more information about a module, click the module name, then view its details in the right sidebar.
- To view the local preview of a module or template, click View local version in the Actions column.
hs project upload as needed.