The features described in this guide are in Early Access beta, separate from the CRM development tools to build UI extensions with React as frontend beta for private app UI extension development.
UI extensions for public apps quickstart (BETA)
Follow this tutorial to create a UI extension for a public app based on a HubSpot-provided template, which includes an app card for contact records. If you're looking to migrate an existing public app to the projects framework, check out the migration guide.
By the end of this tutorial, you will have:
- Configured your local environment for project development
- Created a project and public app locally using HubSpot's boilerplate Get Started project
- Installed the public app in a test account
- Added the app card to contact records
- Sign up for the UI extensions for public apps beta
- Install the latest version of the CLI by running
npm i -g @hubspot/cli@latest
. The CLI will need to be version 6.1.0 or later. - Create a developer account.
- In your developer account, create a test account that you can use to install and test the app.
- Because you'll be using OAuth, you'll need to set up a self-hosted backend environment to complete the OAuth process. For the purposes of this tutorial, it's recommended to set up the sample OAuth Node.js app, which is configured to work with the example project you'll be creating.
Because projects are developed locally, you'll first need to set up your local environment:
- Install Node.js which enables HubSpot’s local development tools. Versions 18 or higher are supported. It's recommended to use a package manager like Homebrew or nvm to install Node.
- In the terminal, use the
cd
command to navigate to the directory where you'll be storing your project, app, and extension files. - Install the latest version of the CLI by running
npm install -g @hubspot/cli@next
. The CLI will need to be version5.2.1-beta.5
or later. - Connect the CLI to your developer account:
- If you haven't yet created a
hubspot.config.yaml
file, runhs init
, then follow the prompts to initialize the HubSpot configuration file to connect the CLI to your developer account. - If you've already set up the initial HubSpot configuration file (
hubspot.config.yaml
), you can add your developer account to the list of authorized accounts by runninghs auth
. Follow the prompts to generate a personal access key in your account, then copy and paste it into the terminal.
- If you haven't yet created a
- In your working directory, run
hs project create
.
- Enter a name for the project, then confirm the local destination for the boilerplate project.
- When prompted to select a project template, select the CRM getting started project with public apps (BETA) template.
- With the boilerplate project created, navigate into the new directory by running
cd <project-directory>
.
- Upload the project to your developer account by running
hs project upload
. This will create a new public app in your developer account which you'll then continue to update as a part of this guide.
- Navigate to your developer account.
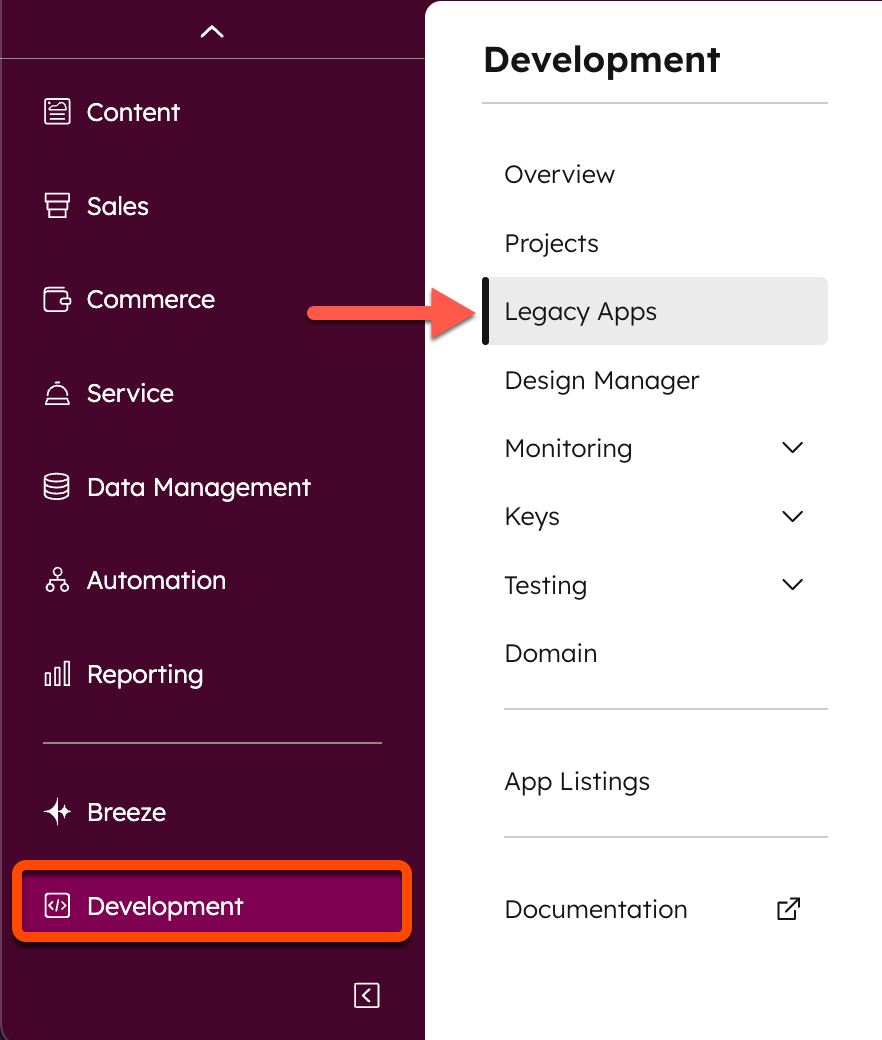
- Click Manage apps, then click the Get started with public apps app.
- Click the Auth tab.
- Under App credentials, copy your app's Client ID and Client Secret and paste them into the environment configuration (e.g., entries in an
.env
file) for your backend.
http://localhost:3000/oauth-callback
as the redirect URL.
- In the left navigation bar, click Apps, then click the Get started with public apps app.
- Click the Auth tab.
- Next to Sample install URL (OAuth), click Copy full URL, then open that URL in your browser.
- Follow the prompts to authorize and install the app in your developer test account.
- Navigate to your developer test account to confirm that it's been installed:
- In the left sidebar of your developer account, click Test accounts.
- Click the name of the test account you installed the app in.
- In the top navigation bar, click the Settings icon.
- In the left sidebar menu, navigate to Integrations > Connected apps. You should see the Get started with public apps app listed on the Connected apps page.
The Get started app comes with an example app card for contact record pages. After installing the app in your developer test account, you'll need to configure the app card to appear on your record pages by following the steps below.
- In the account where you installed the app, click the Settings icon in the main navigation bar.
- In the left sidebar menu, under Data Management, navigate to Objects > Contacts.
- Click the Record customization tab.
- Click Default view to customize the default contact record view.
- Click the + tab to create a new Custom tab. Then, click the Custom tab and click Add cards.
- In the right panel, under Card types, click Apps.
- Select the checkbox next to the example extension that's part of your public app.
- Click the X at the top of the right panel to close it.
- In the top right, click Save and exit.
With the card added to the contact record, navigate to a contact record to view the card:
- In the left sidebar, navigate to CRM > Contacts.
- Click the name of a contact.
- Click the Custom tab, then view your card.
With the card displaying on the contact record, you can make updates to the app or extension and re-upload to your account using hs project upload
. However, for faster iteration, you can run a local development server, which will show your React file updates on save.
When building a UI extension, you can run a local development server to iterate and test functionality in real-time without needing to re-upload the project. The local development server is only available for the frontend portion of the app, and assumes the backend is either running locally or is hosted.
Your app must be uploaded to your development account for the server to work. The local development server will only pick up changes made to React files. For changes to configuration files, you'll need to use hs project upload
.
hs project clone-app
.
To start a local development server:
- First install dependencies by navigating to
src/app/extensions
and runningnpm install
.
- Run
hs project dev
.
- You'll then be prompted to select an existing develop test account or create a new one. For this tutorial, select the developer test account you previously used.
If you select a developer account that doesn't have the app installed, the terminal will prompt you to install the app.
- The local development server will start, and can be ended by pressing q in the terminal. In HubSpot, refresh the contact record page, which should update the card with a Developing locally tag.
Changes to your React files should now get picked up automatically in the browser on save without needing to refresh the page.
To test this out, open the extensions/ExampleCard.jsx
file and add the following Text
component above the rest of the components.
After saving your changes, the card will automatically pick up the new component and display the text.
If you wanted to publish this change to your app, you would end the development server by pressing q, then run hs project upload
. Because the app itself is stored in your app developer account, you’ll need to ensure you’re uploading to that account, not your test account. After your changes are built and deployed, you would see them reflected in the test account after refreshing the contact record page.
hs project upload
.
Now that you’ve successfully created, uploaded, installed, and started local development for your UI extension, check out the following resources to learn more:
Thank you for your feedback, it means a lot to us.