/crm/v3/). All endpoints in this section follow the pattern:
https://api.hubapi.com/.
This versioning model gives HubSpot the ability to ship updates on a predictable schedule. When a new date version is released, the previous version continues to work until its end-of-life date, giving you time to migrate. For new integrations, always use the latest date version. Learn more about this change on HubSpot’s Developer Changelog.
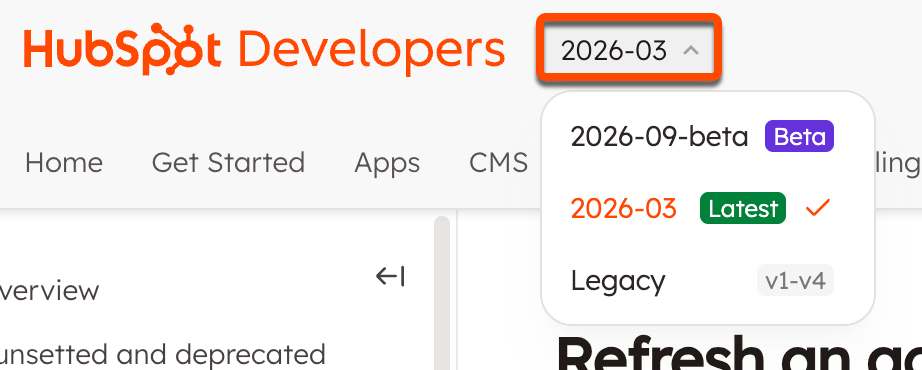
Across the API reference section, use the versioning dropdown menu in the top bar to switch versions. If there’s an equivalent endpoint to the one you’re currently viewing, you’ll automatically be sent there. Otherwise, you’ll land on that version’s home page.