Create private apps with projects (BETA)
Sales Hub
- Enterprise
Service Hub
- Enterprise
Create private apps to access your HubSpot data through HubSpot's APIs. Private apps can only be installed into the account where they're defined. Serverless functions can use a private app's access token to authenticate calls to access account data, similar to using an API key but with additional security and usability benefits.
When created as part of a HubSpot project, private apps are stored in a folder that contains an app.json
file, and will also contain extension and serverless function files needed by the app. A project can contain only one app, but an app can contain multiple UI extensions.
In this guide, learn how to create a private app in a project and view it in HubSpot. Then, you can create a UI extension within the app to customize the CRM UI.
Create a private app within a project
To create a private app in a project, you'll first need to install the HubSpot CLI. To get started with HubSpot projects, you can also check out the quickstart guide.
To create a private app within your project:
- Within the
src
folder of your project directory, create anapp
folder. - Within the app folder, create an
app.json
file. This file will contain your app definitions. - Copy the following code into your
app.json
file:
name string
A unique name for the app. |
description string
The app's description. |
scopes array
The app's allowed scopes. At least one scope is required. |
uid string
The app's uniquely identifying name. This can be any string, but should meaningfully identify the app. HubSpot will identify the app by this ID so that you can change the app's |
public boolean
Set to |
extensions object
Contains the extensions included in the app. For CRM cards, include a If you have not yet defined your extension, you can leave this object empty. |
Add a serverless function to the app
Within the private app, you'll add a serverless function to serve as your UI extension's back end. Serverless function files are stored in a separate folder within the app
directory.
In the app
directory, create an app.functions
directory with the following files:
serverless.json
package.json
example-function.js
The example code below will get you started, but check out the serverless functions guide to learn more about authenticating calls, managing secrets, debugging, and more.
appFunctions object
The object that contains definitions for each serverless function. |
⮑ myFunc objectThe object containing the name of the serverless function
|

hs project upload
command.On upload, the build will be triggered and HubSpot will validate your project files and provision any needed resources. By default, HubSpot will automatically deploy successful builds. Alternatively, you can link a GitHub repository to the project to automatically trigger a new build when you push a change to the project files in GitHub.
With your app uploaded, learn how to view it in HubSpot below. Then, create a UI extension in the app to customize CRM records with various UI components.
If you're a super admin, you can access and manage private apps in your HubSpot account, including viewing your apps, their build history, and the access token required to make API calls.
To view a private app's details in HubSpot:
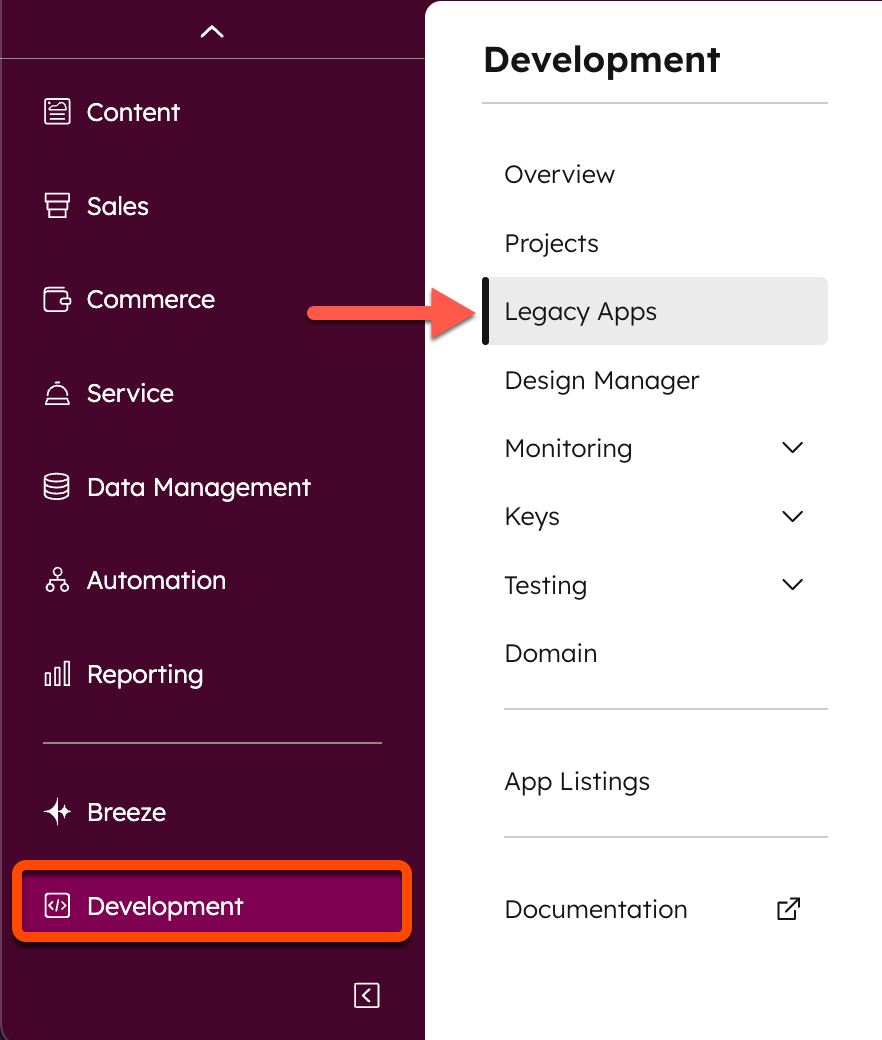
- In your HubSpot account, navigate to CRM Development.
- In the left sidebar menu, navigate to Private apps.
- Click the name of the private app.
You'll then be taken to the app's home page where you can view and manage its access token, view request logs and included extensions, and delete the app. Learn more about each tab below.
Overview
On the Overview tab, review high-level information about the app's API calls and extension requests and responses.
Auth
On the Auth tab, view authentication-related information, such as the private app's access token and scopes. You can also delete the app from this page.
Logs
On the Logs tab, view detailed information about the app's API calls, API calls made from extensions in the app, and security-related events such as private app access token viewing and rotating. You can also export up to 30 days of logs by clicking Export logs.
Extensions
On the Extensions tab, view information about the extensions that are included in the app.
Thank you for your feedback, it means a lot to us.