Supported products
Supported products
2025.1).
For a high-level review of serverless functions, check out the serverless functions overview. You can also check out the HubSpot Developers YouTube channel for a walkthrough of using serverless functions in a CMS project.
Prerequisites
Before starting this tutorial, you’ll need:- A Content Hub Enterprise account, or a CMS developer sandbox account.
- The HubSpot CLI (latest version recommended), which will need to be installed and authenticated with the account you’re using. To check which accounts are authenticated, you can run
hs accounts list. Learn more about getting started with local development.
Create a project
Start by creating a project locally so that you can build and deploy it to your account. You’ll be using the2025.1 platform version, as serverless functions are not supported in 2025.2.
- In the terminal, navigate to the directory where you’ll be storing your project using the
cdcommand.
- Run the command below to create a new project using the
2025.1platform version. Running the command without the--platform-versionflag will create a2025.2project, which doesn’t support serverless functions.
- Follow the terminal prompts to create your project. For the template, select Create an empty project (no template).

- Navigate into the new project directory using the
cdcommand. For example, if you named your project my new project:
Add a serverless function to the project
Once your project has been created, open it in your preferred editor, such as VS Code. HubSpot will have automatically created a project directory along with an emptysrc directory and a hsproject.json configuration file.
In the src directory, create an app directory, then add the following directories and files within it:
app/app.json: the app configuration file.app/app.functions: the serverless function directory. You can use any name you’d like, as long as it ends in.functions.app/app.functions/function.js: the JavaScript code that will be executed when the function is invoked.app/app.functions/serverless.json: the serverless function configuration file.app/app.functions/package.json: includes necessary dependencies.
app.json, function.js, serverless.json, and package.json files.
- app.json
- function.js
- serverless.json
- package.json
Upload the project to HubSpot
With your changes saved, you can now upload the project to HubSpot to build and deploy the app and serverless function.- In the terminal, run
hs project upload.
- Confirm that you want to create the project in the account. You won’t need to confirm again this for after initial creation. The terminal will display the current status of the build and deploy steps as they progress.
- Once the upload completes, run
hs project opento view the project in HubSpot.
Test the function
With the serverless function deployed, you can invoke it by hitting its public URL. Serverless functions built with developer projects have the following public URL structure:https://<domain>/hs/serverless/<endpoint-path-from-config>.
<domain>: you can use any domain connected to the account. For example, if both website.com and subdomain.brand.com are connected to the account, you could call the function usinghttps://website.com/hs/serverless/<path>orhttps://subdomain.brand.com/hs/serverless/<path>.<endpoint-path-from-config>: the value in thepathfield inserverless.json.
https://<domain>/hs/serverless/fetch-quote.
In the URL to call the function, the endpoint path is global rather than
scoped to the app or project. If you have identical endpoint paths across
multiple apps or projects, the most recently deployed endpoint function will
take precedence.
<hubId>.hs-sites.com (e.g., 123456.hs-sites.com). Your browser should display the data returned by the Zen Quotes API.

Invoke the function from a website page
Now that you’ve created the serverless function and confirmed that it returns data, implement it into a page to see the data returned in a more realistic context. For this tutorial, you’ll create a page template containing some custom JavaScript and HTML to execute the function and display the response data. First, create a new page template:- In your local environment, create a new directory to contain your page template. For the purposes of this tutorial, create this directory outside of this tutorial’s project directory.
-
In the terminal, navigate into that directory using the
cdcommand.
- Run
hs create template "serverless-template"to create a new template namedserverless-template.
- Select the page template type.
- Open the newly created page template file in your editor, then replace the boilerplate code with the code below. Be sure to replace
<domain>in the function endpoint URL (fetch('http://<domain>/hs/serverless/fetch-quote')) with a domain that’s connected to your HubSpot account.
- Save the file, then run
hs uploadto upload it to HubSpot. Follow the terminal prompts to select the local source and destination path. For this tutorial, you can just press Enter for each prompt to use the default paths.
- Navigate to the website pages dashboard of your HubSpot account by running the
hs open website-pages.
See the full list of available open shortcuts by running
hs open --list.- In your browser, click Create in the upper right to create a new page.
- In the dialog box, select a domain to use, then assign a Page name. The domain of the page will need to match the domain that you’re using to invoke the serverless function to avoid cross-origin (CORS) errors. You can either select that domain from the dropdown menu, or update the endpoint URL in the page template code (
fetch('http://<domain>/hs/serverless/fetch-quote')) to use the domain that you select in this step. - Click Create page.
- On the template selection screen, search for your new template. You can use the label or the file name to search for the template (e.g., “Serverless function example page”). The template will appear under Other templates, as it’s not part of a theme.
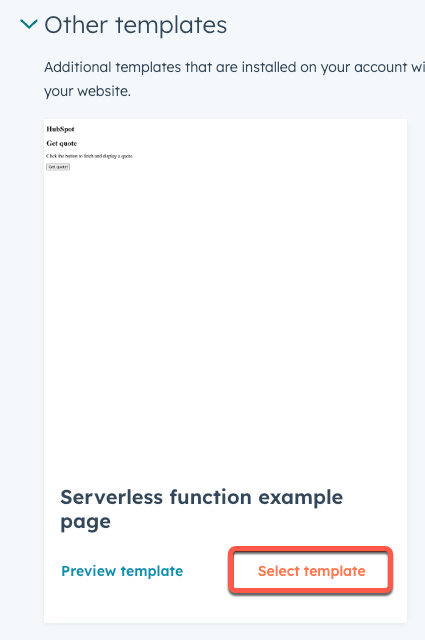
- Click Select template.
- In the page editor, click Preview in the upper right.
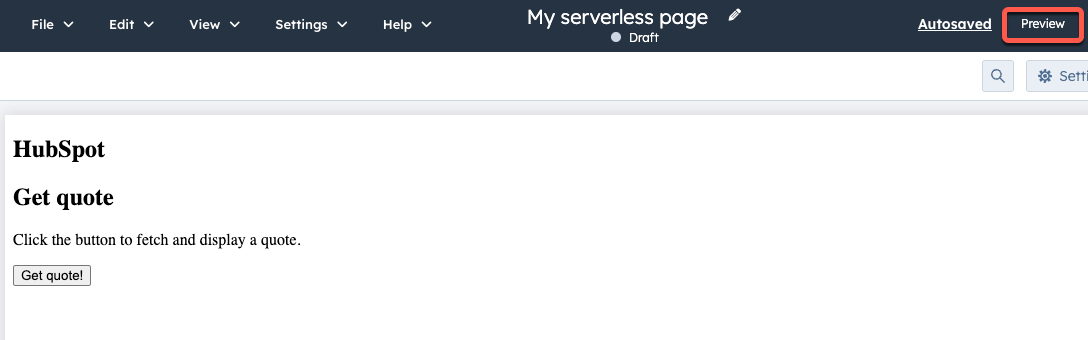
- Click Open in a new tab.
Next steps
Now that you’ve created and implemented a serverless function that interacts with a third-party API, there are a few ways to continue building up your serverless function usage, such as:- Including authentication in a request to make calls to HubSpot APIs or other third-party authenticated APIs.
- Implement the button and JavaScript code into a module rather than hardcode it into the page template. This would give you a more portable option, enabling the function to be invoked from any page that the module is added to. To do so, you would create a module, then add the HTML into the module’s
module.htmlfile, and the JavaScript into themodule.jsfile.