
.module suffix. These folders contain the files that make up the module’s settings and the code used to render it. A module’s configuration is kept in the meta.json file, while fields are configured separately in a fields.json file.
Most configuration can also be modified using the module editor in the Design Manager.
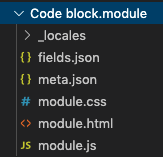
meta.json file, which can include the following properties:
Below, learn more about individual module configuration options.
Adding an Icon
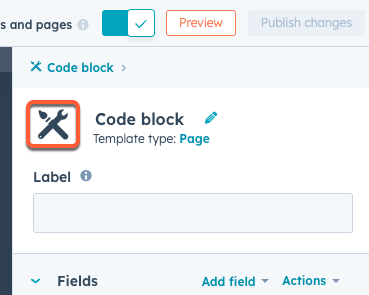
Modules can include an icon that appears in the Design Manager and the page and email editors to provide visual context for content creators. It’s recommended to have different icons for the different types of modules in your theme. Icons are required for marketplace providers. There are two ways to add an icon, through the design manager or the CMS CLI. Module icons must be an.svg file and no larger in size than 10kb. For best results your icon should be simple and use only one color. Icons that use more than one color will be automatically converted for you. The default module icon that displays is a wrench and paint brush icon.
To add an icon using the design manager:
- In your HubSpot account, navigate to Marketing > Files and Templates > Design Tools.
- Use the left sidebar to locate the module you want to edit, then click the module name.
- In the right sidebar of the module editor, click the icon next to the module title.
- Upload/select your icon. After publishing your changes, the icon will appear within the page editors and design manager.
meta.json file and add or edit the icon parameter’s value to be an SVG from the file manager.
Changing the label
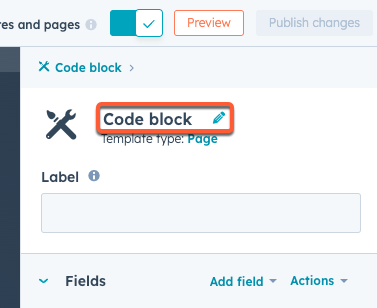
The label used when modules are displayed in the editor can be adjusted separately from the name for the module. This is useful when developing locally as you can have a name that makes sense to you while having a different one content creators see. Locally you change thelabel parameter to set the label. In the design manager there’s a field in the module editor below the module name.
Making a module global
For normal modules, the content of each instance of a module in a page, email or template is independent. For some use cases, it is useful to be able to have all instances of a module share the same content. When developing locally, you can make a module global by settingglobal to true.
You can also convert modules in a drag-and-drop template to global using the design manager.
Controlling where a module is available for use
When developing locally, you can control which types of content a module can be used in through thehostTemplateTypes property. Learn more about the available template types. Modules also can be hidden so that they can’t be added directly to pages through setting is_available_for_new_content to false. For example, this can be helpful for modules built for navigation menus and search.
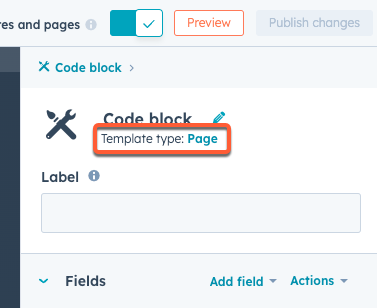
You can update this in the design manager by clicking the Template type option in the right sidebar.
Adding CSS and JavaScript dependencies
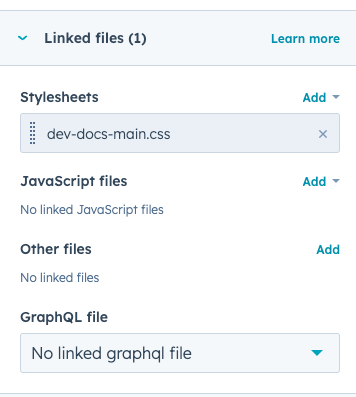
In addition to usingmodule.css and module.js to add CSS and JavaScript that will be added to all pages that include a module instance, dependencies that are shared between modules can be attached using css_assets and js_assets. Paths can be absolute or relative to the meta.json file.
Adding categories and tags
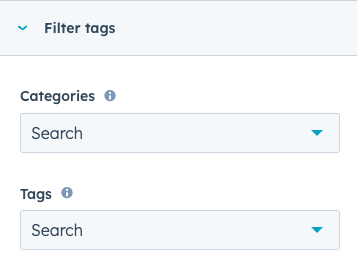
You can assign categories and tags to modules to organize them within HubSpot tools:- Categories: assign categories to a modules to organize them into groups within the content editor UI. This enables content creators to find modules more easily while building content in HubSpot. Note the following about categories:
- A module can have up to three categories, which are pre-defined and cannot be customized.
- Currently, categories are not surfaced in the content editor UI. However, you can assign categories for when categorization is available in editors.
- Uncategorized modules will be available under an All category.
- Tags: assign tags to organize modules within the design manager. This enables you to find modules more easily while building templates.
meta.json file as follows:
Categories
A module’scategories array can contain up to three of the following categories (case-insensitive):
Tags
A module’scontent_tags array can contain any of the following module tag objects (case sensitive):
Content types:
ACCORDIONANIMATIONBLOG_POSTBUTTONSCODECTAFEEDFORMICONIMAGELISTSLOGOMENURICH_TEXTSLIDERTEXTVIDEO
BANNERBLOGBRANDINGCALCULATORCONVERSIONEMAILGALLERYHEADERSINTERACTIONLAYOUTMAPMULTIMEDIANAVIGATIONPROGRESS_BARSEARCHSETTINGSSOCIALTRANSLATION