
This article was authored by a member of the HubSpot developer community, Olia Gozha.
Along with great visuals and high performance, animation is becoming a new standard for websites. Below, you'll find an overview of how to add Lottie-like animation to your HubSpot website to keep up with industry standards.
Why teams love Lottie
Modern interfaces rotate, shift, scale, and perform all sorts of life-like movements thanks to animation, much of which is done as Lottie files these days. Because of the Airbnb design team, Lottie has been an integral part of app development since 2017. As for the web, this new creature has been paving its way by gradually competing with CSS, JS, and SVG. All of them have pros and cons, but Lottie is getting increasingly popular among teams focused on great design and quick results. It is winning product teams over because of its flexibility, collaboration possibilities, and performance.
Lottie can be applied anywhere in the interface — from tiny icons to large marketing illustrations. It's so versatile that neither the type nor the size of an element matters for Lottie. Each of these various interface elements can be produced by different designers and then transferred to the dev team without much time spent on detailed instructions since the hand-over is a ready-to-be-implemented animation. It ensures speedy implementation from a dev-design collaboration perspective compared to CSS and especially JS animation.
From the designer’s perspective, Lottie is just a file format of their initial design piece created in any motion software. And from the developer’s perspective, it's similar to code they’re used to working with. This way, both parties work with Lottie in their native environments (which means less collaboration friction) where Lottie is a bridge that helps transfer animation from design to development.
Because of this particular code format, called JSON, the browser sees Lottie as a bunch of lines of code rather than a media file. This means fewer requests to the server, which results in faster load speed and better performance for the final product.
How to implement Lottie
Once developers get Lottie from designers, there are three ways to implement it in the project, depending on the level of complexity:
The first two options are powered by the LottieFiles platform, which used Airbnb's initial technology and built infrastructure around it. Now, let's look under the hood of each of these variants.
Web player
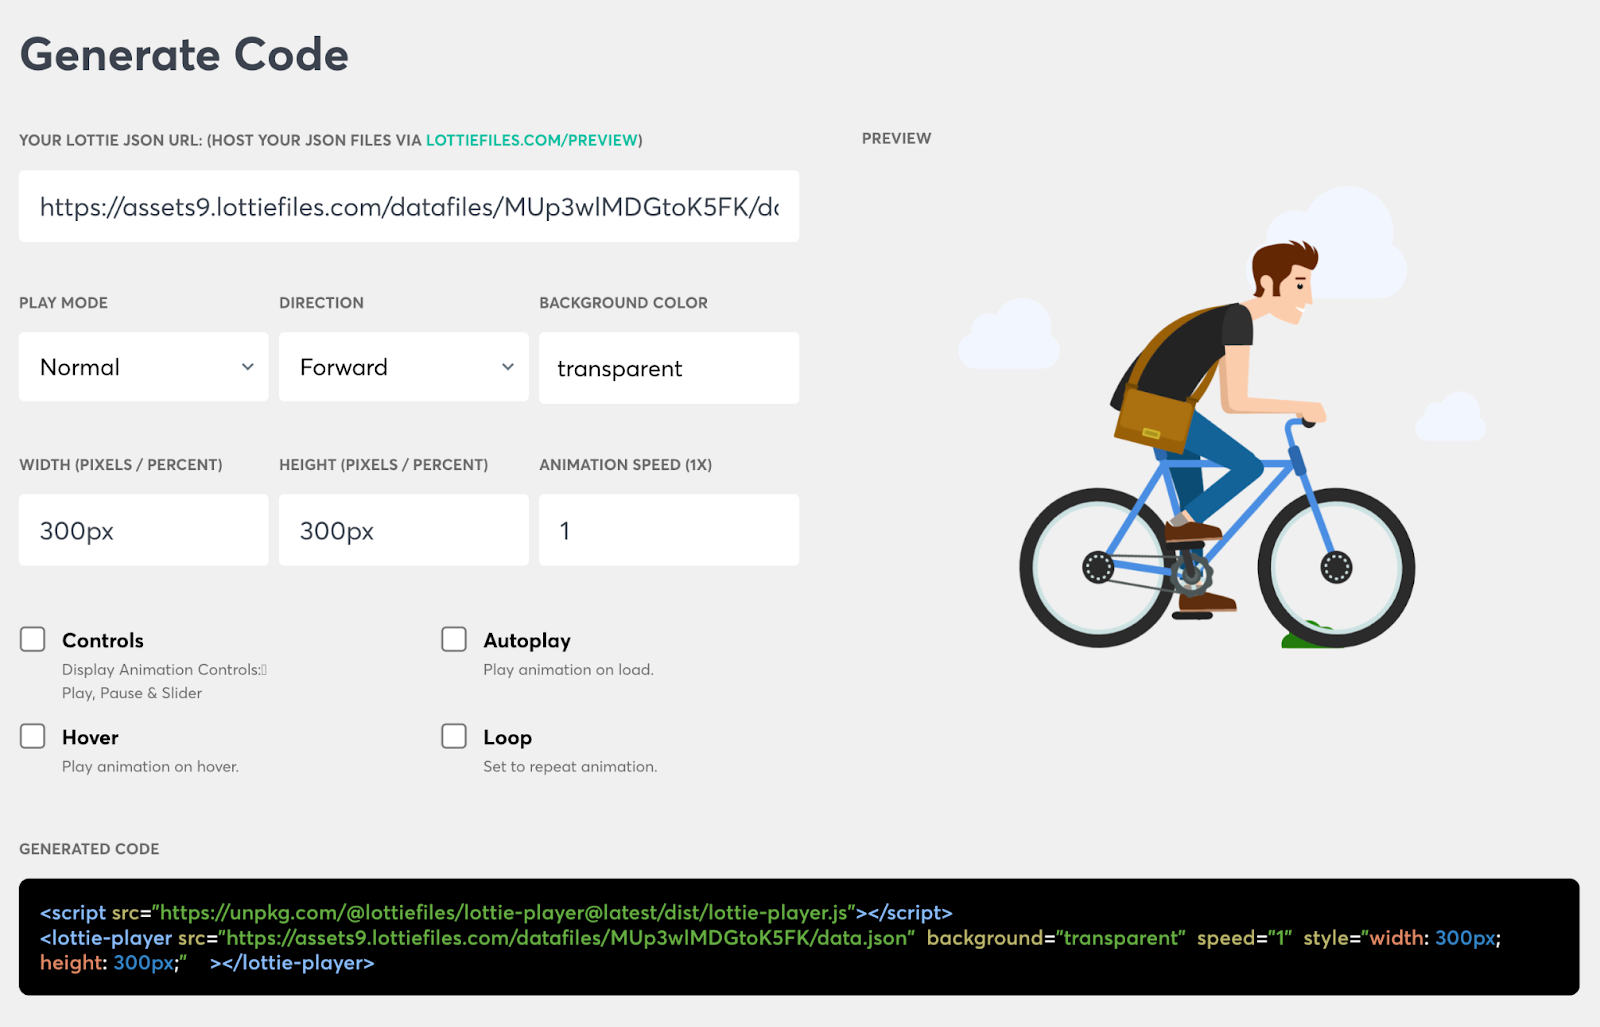
LottieFiles Generator (what we’re calling “web player”) is the quickest and most universal way to add Lottie animation to any web project. Just fill in the fields, copy the code, and then paste it into your project files — simple as that. It's important to note that the settings here are limited to just four checkboxes — "controls", "hover", "autoplay", and "loop" — which work as a boolean to switch on and off.
Interactive element
If the settings in the LottieFiles Generator aren't enough for your needs, the second option (what we’re calling “interactive element”) is the right choice. With extended JavaScript added to your project, you can set up custom values for different modes and actions. The latter includes such settings as "seek", "play", "stop", "loop" etc. LottieFiles documentation covers all the modes and respective actions in detail, supporting each case with a code example like the one below.
Custom build via JS library
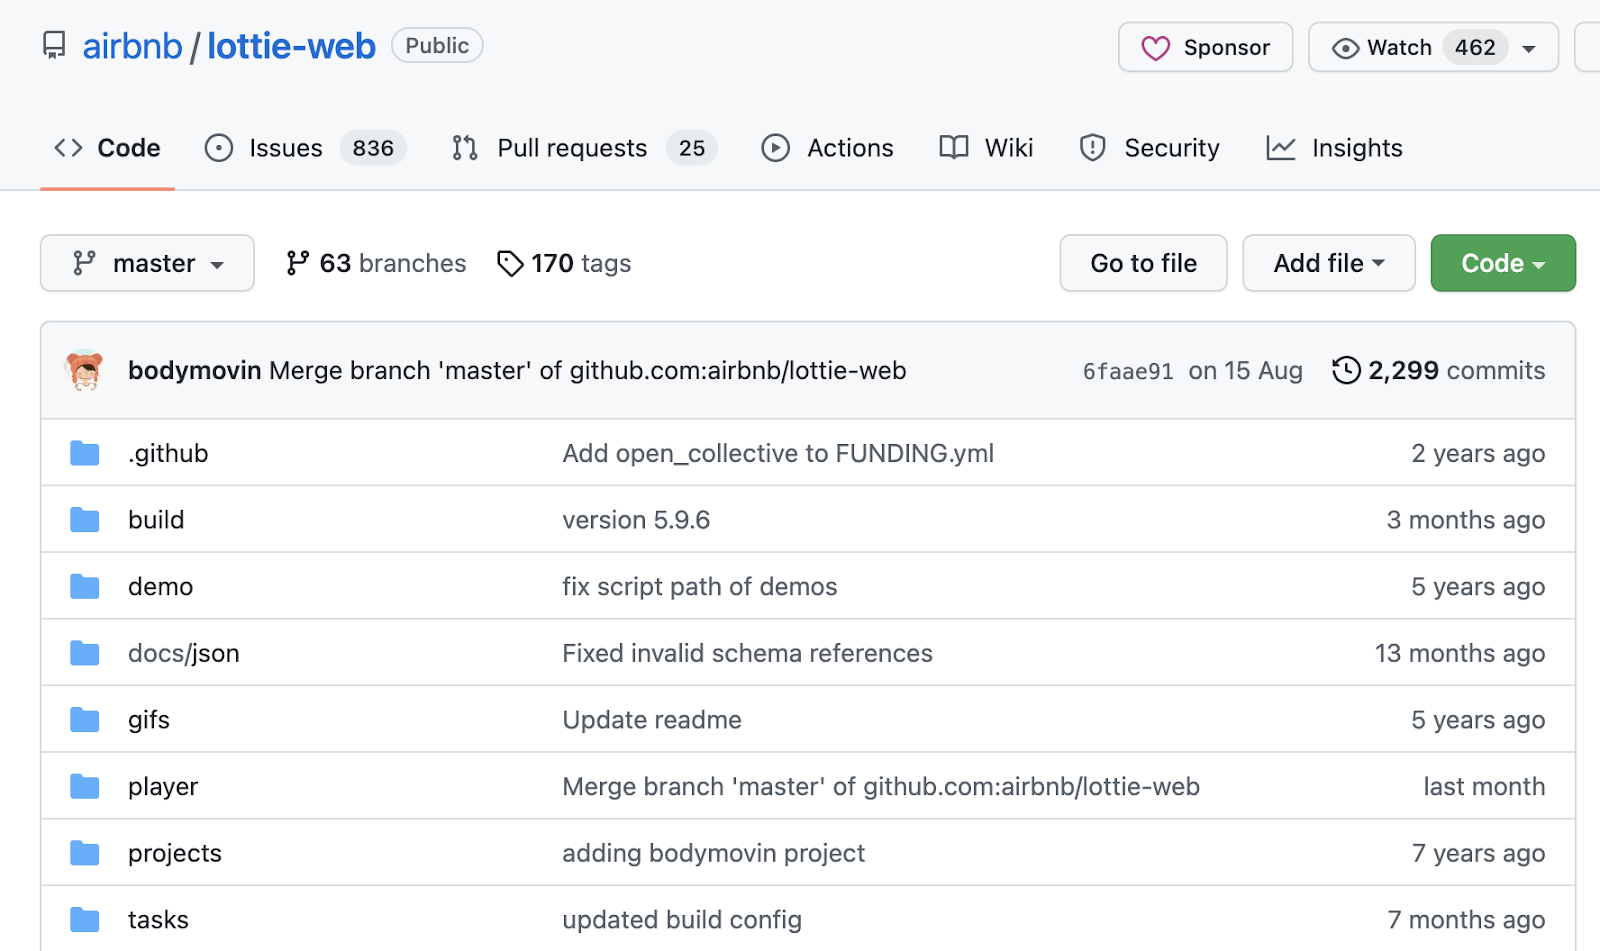
The most advanced way to integrate Lottie animation is the Bodymovin JS library. It gives you access to dozens of JS methods, some custom events, and even an option to use addEventListener with a pretty standard list of events. All of that is available in the GitHub repo [https://github.com/airbnb/lottie-web]. With such a toolkit, you can build fantastic custom experiences based on interactive animation.
One might regard these three approaches as being light, medium, and hard levels of implementing Lottie animations:
- For something straightforward like plain animation to display, it's better to use the web player option with basic display settings and no interactivity with a user.
- Once a bit of complexity comes in, like animation variation on scroll or cursor movement, the medium option — interactive element — is recommended.
- When the level of interactivity increases, one might consider going fully custom with the Bodymovin JS library. The latter provides full control over how the animation would work depending on the browser's native events.
Lottie in HubSpot projects
Since there are various approaches to HubSpot development, Lottie's implementation may also vary. Creating a custom module is the most beneficial option for content creators and developers. Below, you'll find detailed instructions on how to create one using the Lottie web player.
Creating a custom Lottie module
No matter what approach you use to develop the HubSpot module, it's good to plan its settings in advance — it's exactly what I always do when starting work on a new module. In our case of Lottie animation, it's even more critical because we will mimic the available options of LottieFiles in our module's fields.json.
Further, we will work with a typical module's file structure — module.html and fields.json. First of all, in fields.json, we will have a type field set to "file" to allow upload of the animation files.
The rest of the fields are up to you. To make the further explanation more comprehensive, the rest of this article will focus on the LottieFiles Generator approach of adding Lottie to the project. In our example, the fields.json might also have the following set of fields to allow for the adjustment of animation settings:
From a content-editing perspective, having "controls", "autoplay", "hover", "loop", and "speed" is sufficient, allowing content creators to manage animation as they see fit. Also, having some styling options in the fields.json would be great. Usually, I like to have any visual-related settings in the "STYLE" tab. It means that "background", "width", and "height" will be placed there like this:
Once the fields.json file is settled, it's time to move to the module's markup in the module.html. Below, we will cover the structure of this file.
My preferred style of working with such files is to divide them into four main parts:
- Variables: To store all values from fields.json in their variables respectively for cleaner code
- Styles: To set any specific styling for this particular entity of the module via {%require_css%}.
- Markup: To write down actual markup of the module with html and hubl.
- JavaScript: To add any JS through {%require_js%} that requires access to the markup of the module.
Ultimately, module.html for Lottie module might look like this:
Conclusion
If you've made it this far, you should have a fully working Lottie animation module ready to be added to your HubSpot CMS project. Congratulations!
As another Lottie development alternative, I suggest you check this free HubSpot theme — Absolut. And for more details on the Lottie implementation covered in this article, check the code in the GitHub repository.
