
2026.09 version of the developer platform. Bulk actions let users perform operations on selected records directly from CRM object index pages. When a user selects records and triggers your action, HubSpot renders your custom React component as a modal or panel, with the selected record IDs and object type available in the extension context.
This guide walks you through how to build a bulk action component using React and how to upload and preview it in HubSpot.
Before you begin, follow the quickstart guide to create your first app on the latest version of the developer platform.
Prerequisites
- Ensure you’ve installed the latest beta version of the HubSpot CLI.
- If you haven’t done so yet, create a new app.
- In your project’s
hsproject.jsonfile, setplatformVersionto2026.09.
Create a bulk action
1
Add a bulk action component to your project
To add a new bulk action component to an existing project: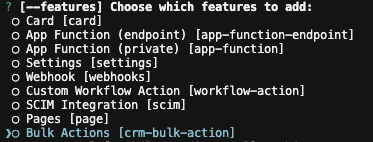 A new
A new
- Use the terminal to navigate into your local project directory, then run the following command:
- When prompted to select a component to add, select Bulk action.
A new actions/ directory will be created in the project’s src/app/ directory. The actions/ directory will contain:- A JSON configuration file (
*-hsmeta.json) - A React component file (
.tsx) - A
package.jsonfile
- NewAction-hsmeta.json
- NewAction.tsx
- package.json
2
Upload to HubSpot
To upload your bulk action to HubSpot: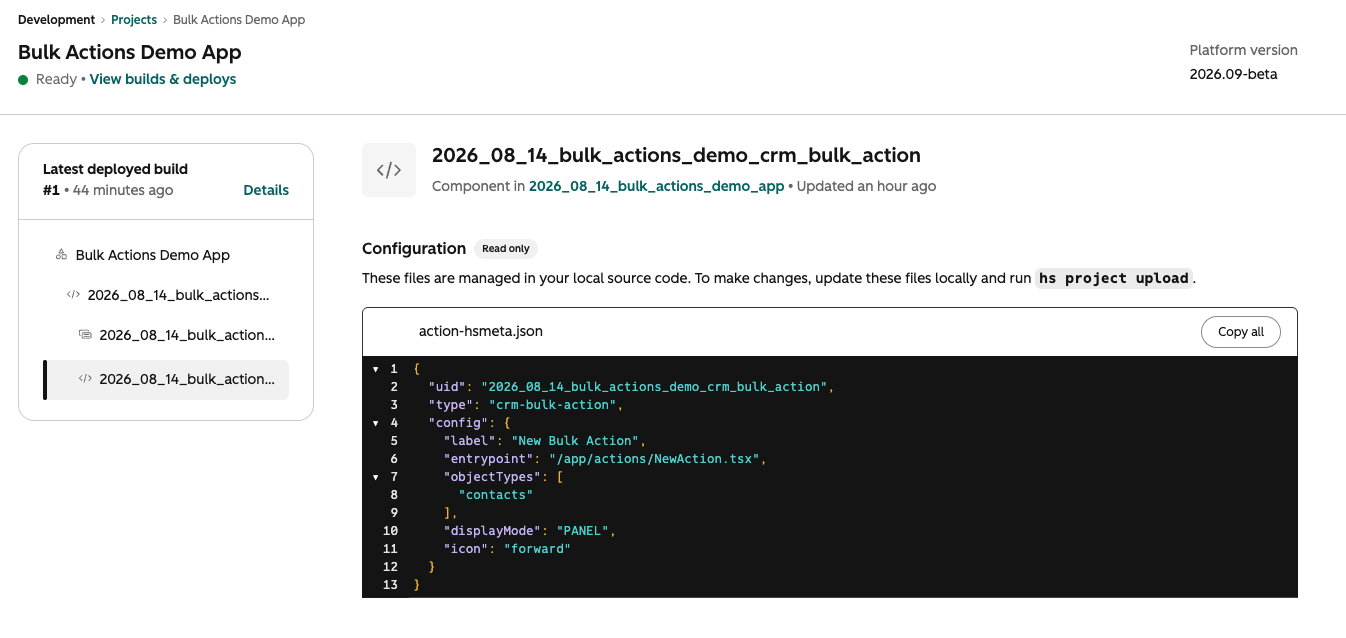
- Run
hs project install-depsfrom within your local project directory to install necessary dependencies. This will create apackage-lock.jsonfile, which speeds up the build of the uploaded bulk action extension and ensures that any dependencies in your local development environment and production match. - Run
hs project upload. - After the project finishes deploying, open the project in HubSpot by running
hs project open. Alternatively, in HubSpot you can navigate to Development > Projects, then click the name of your project. - Your bulk action component should now be listed on the details page.
View the bulk action in HubSpot
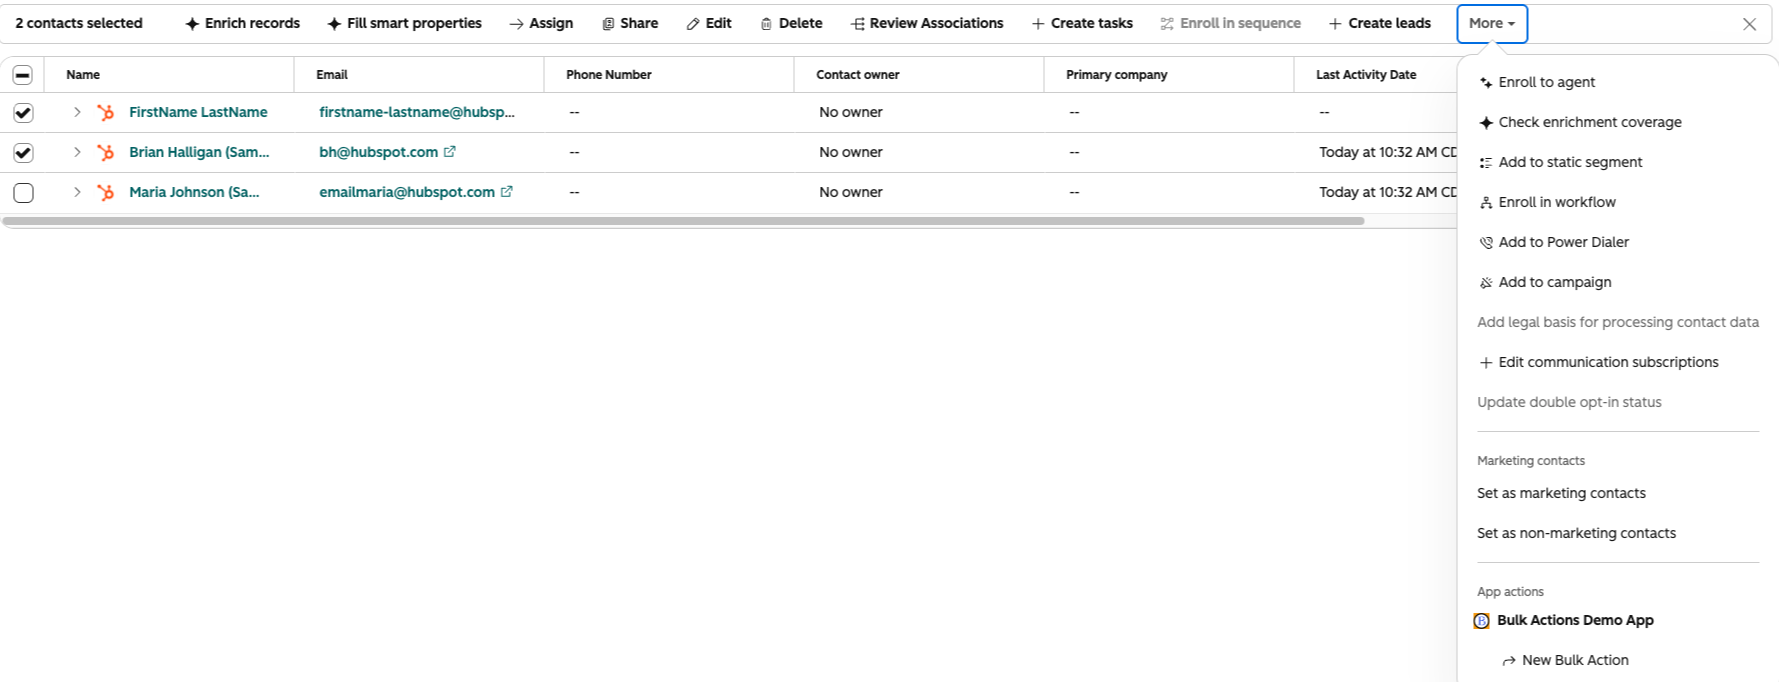
To verify the bulk action is working correctly:- In your HubSpot account, navigate to a CRM object index page. For example, navigate to CRM > Contacts.
- Select the checkboxes of records for which to test bulk actions.
- At the top of the table, click More.
- Your bulk actions will be listed under your app’s name at the bottom of the menu.
- After clicking on your action’s name, it will open as either a modal or panel (depending on how you configured it in the
hsmeta.jsonfile).
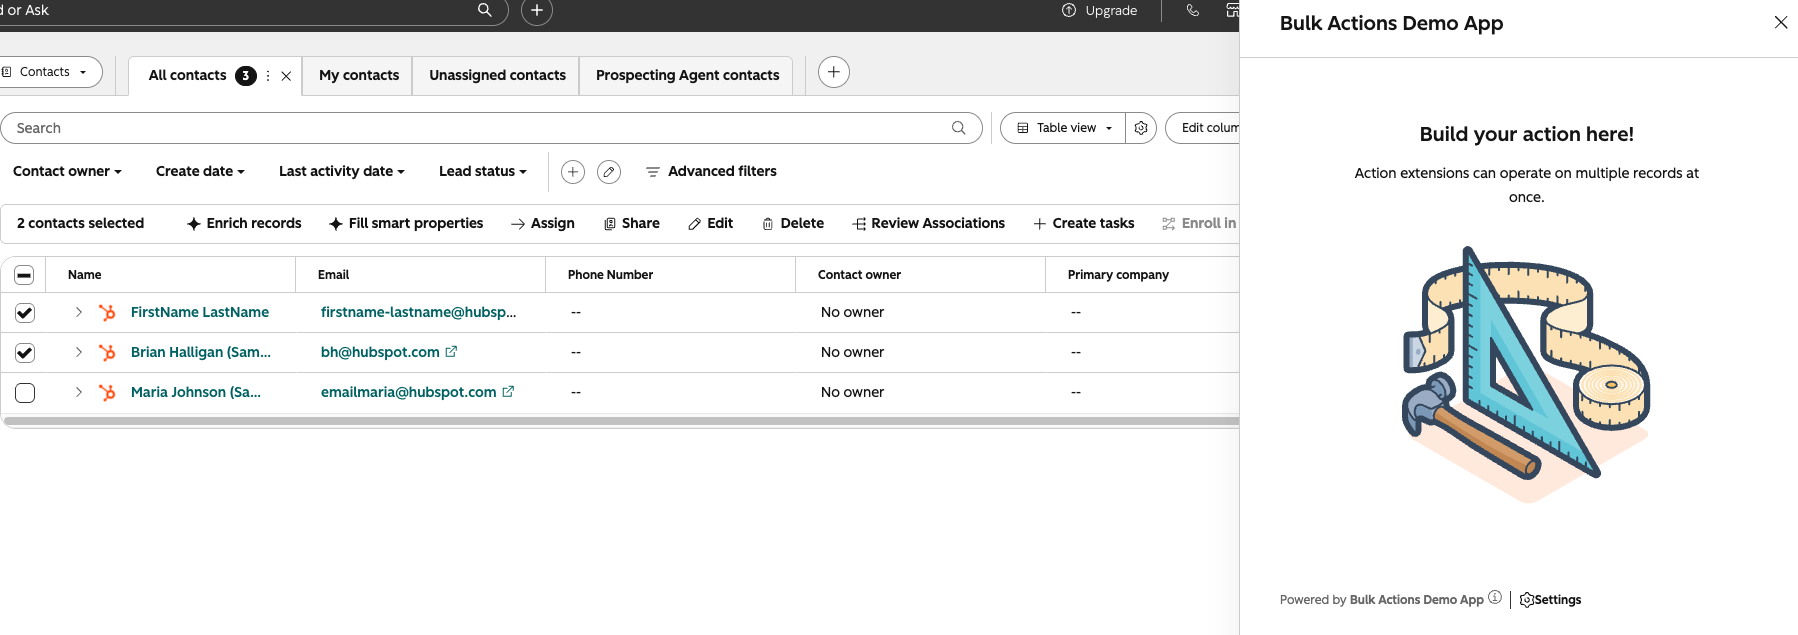 You can now continue to build out your bulk action as needed. You’ll use the UI extensions SDK to add functionality and visual elements to your component. Note that all the existing limitations around building UI extensions apply to building a bulk action.
- Use
hubspot.fetch()to leverage your backend to retrieve and act on data. Learn more about fetching data in UI extensions. - Check out the reference documentation on standard components for how to use React components when building your extension, or use the component in the Figma Design Kit.
- Use the
hs project devcommand to iteratively build out your bulk action and preview your changes locally.
Bulk action configuration
Each bulk action requires a*-hsmeta.json configuration file. Include the following properties: