Continued support for legacy apps
Although building apps on the developer platform is recommended to take advantage of the latest app features, legacy private apps and public apps are still fully supported and actively maintained by HubSpot.- All REST APIs are available to query via a private app access token or public app OAuth token.
- Unless otherwise noted, any previous extensions you’ve built using legacy apps are also still supported.
Developer platform apps (v2025.2 and v2026.03) are created and deployed via the HubSpot CLI. If you’re less familiar with using the CLI and you only need an access token for a few HubSpot APIs, you may want to create a legacy private app.
Access legacy apps in your account
Access legacy apps in your account
To review any previously created private or public apps in your HubSpot account, navigate to Development, then click Legacy Apps.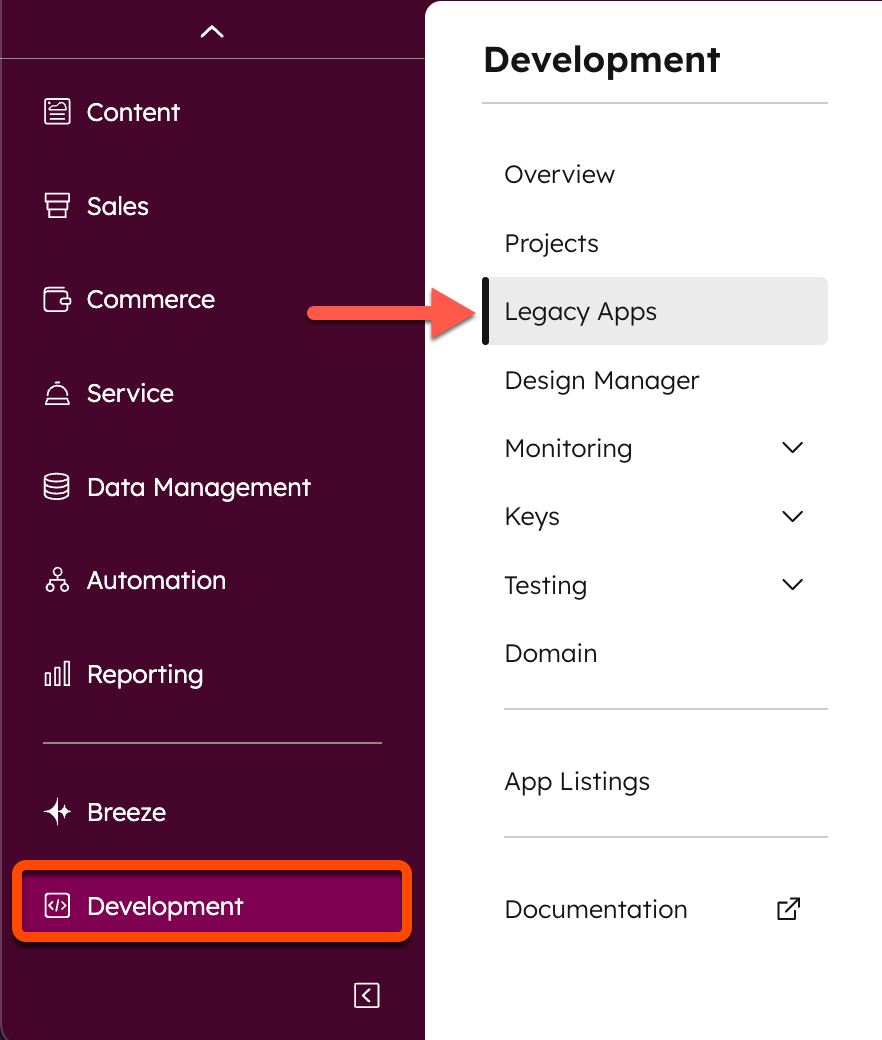
Create an app
The app creation guide walks you through how to get up and running with a proof-of-concept app that uses a boilerplate example project and schema definition. You can then upload the associated configuration files to a project in your developer account, and test out an install using a developer test account.Migration guides
If you have an existing app built using a project on the old version of the developer platform, you can migrate the app to the new version of the platform by consulting the resources below:App configuration
Whether you’re starting from scratch with the quickstart guide, creating an app using the full setup guide, or migrating an existing legacy app, you can consult the app configuration reference article for details on all available fields in your app’s top-levelapp-hsmeta.json schema file.